How do I add a blog to my website?

Simply add a blog post via the dashboard, enter the title, content and translations, configure the publication and SEO options, and publish straight away.

Your website 17 steps Updated

Step by step · 17 steps

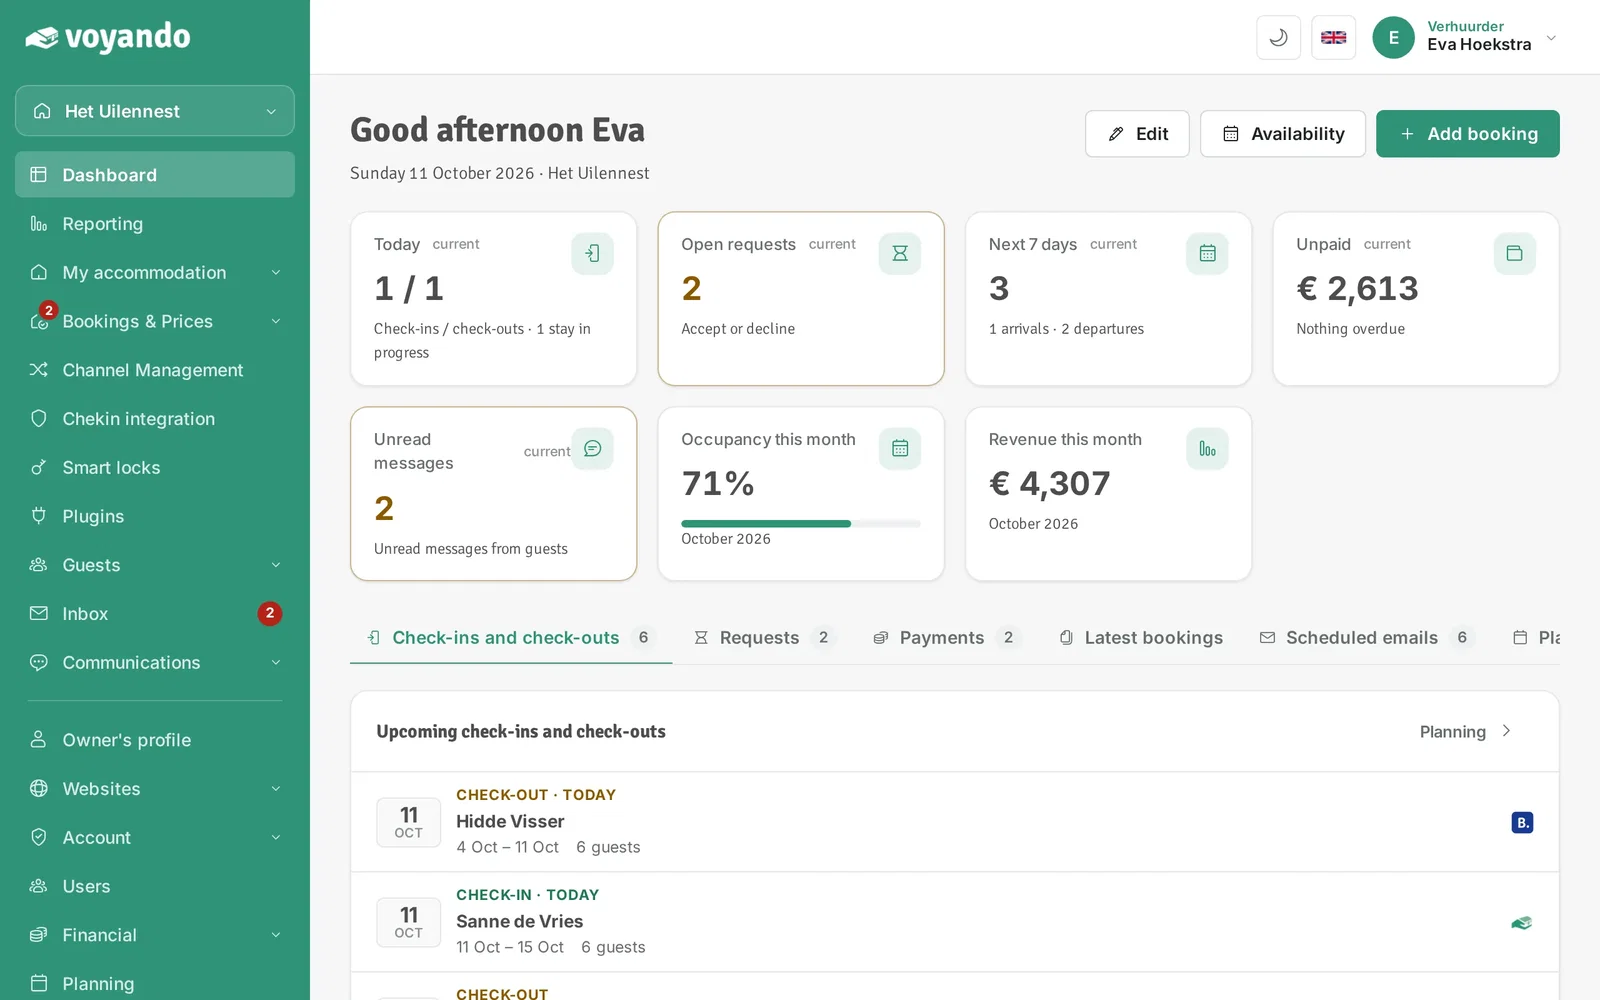
  1. Step 1: Go to your dashboard.

    Go to your dashboard.
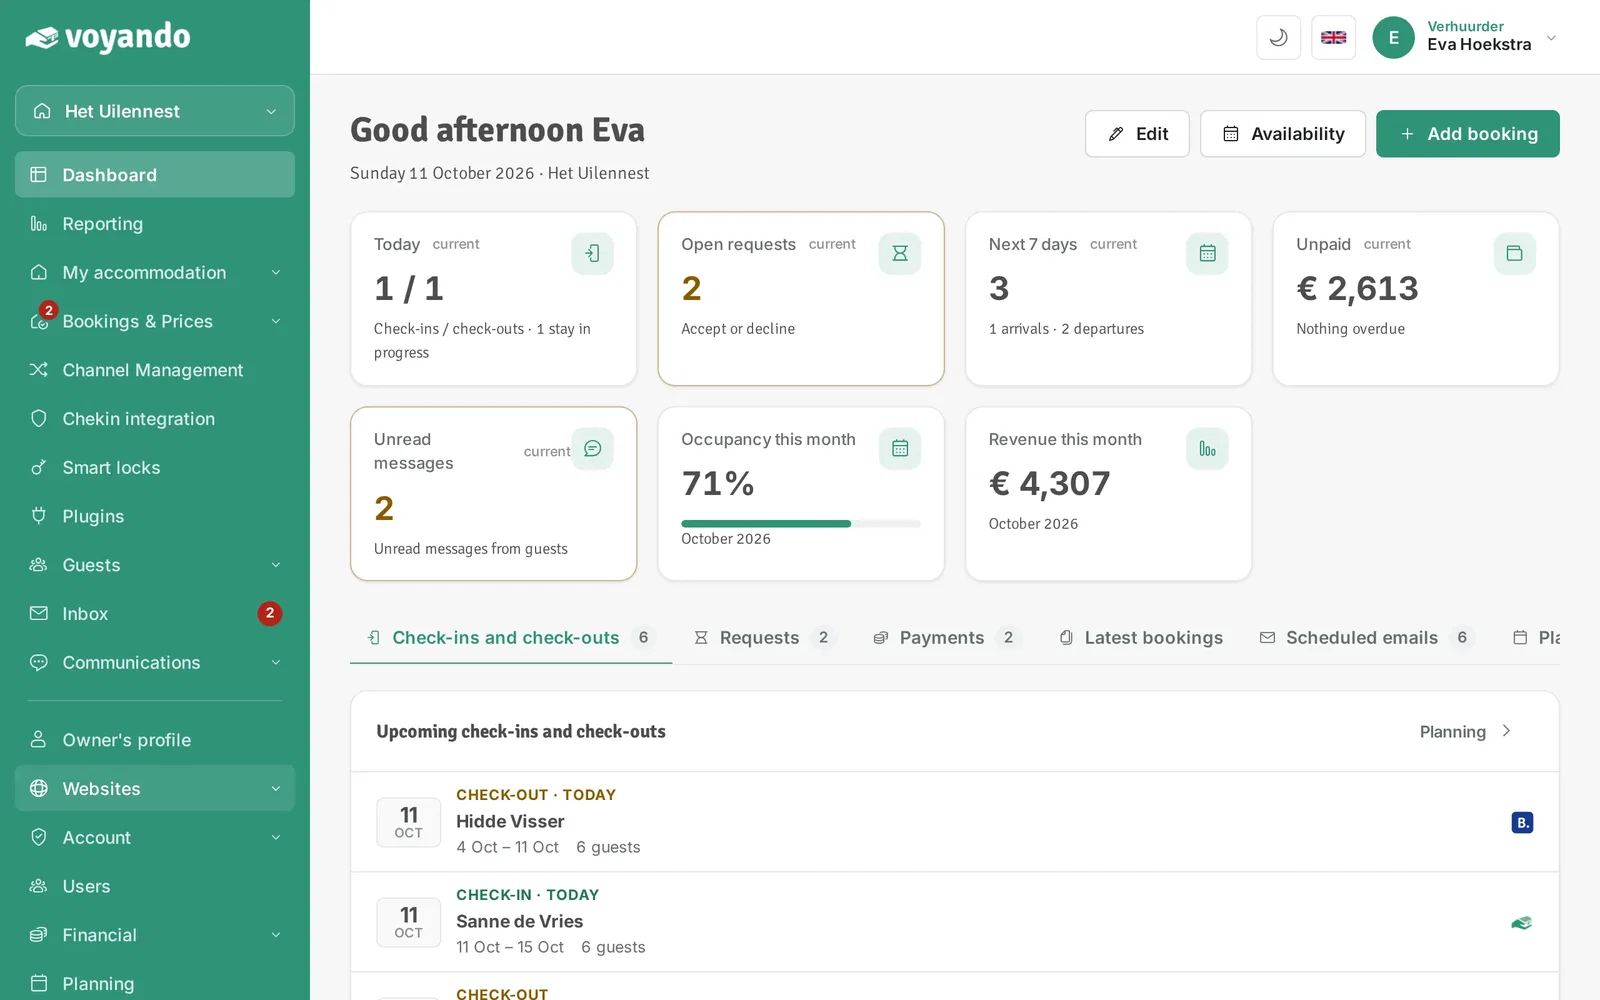
  2. Step 2: Click Websites in the menu.

    Click Websites in the menu.
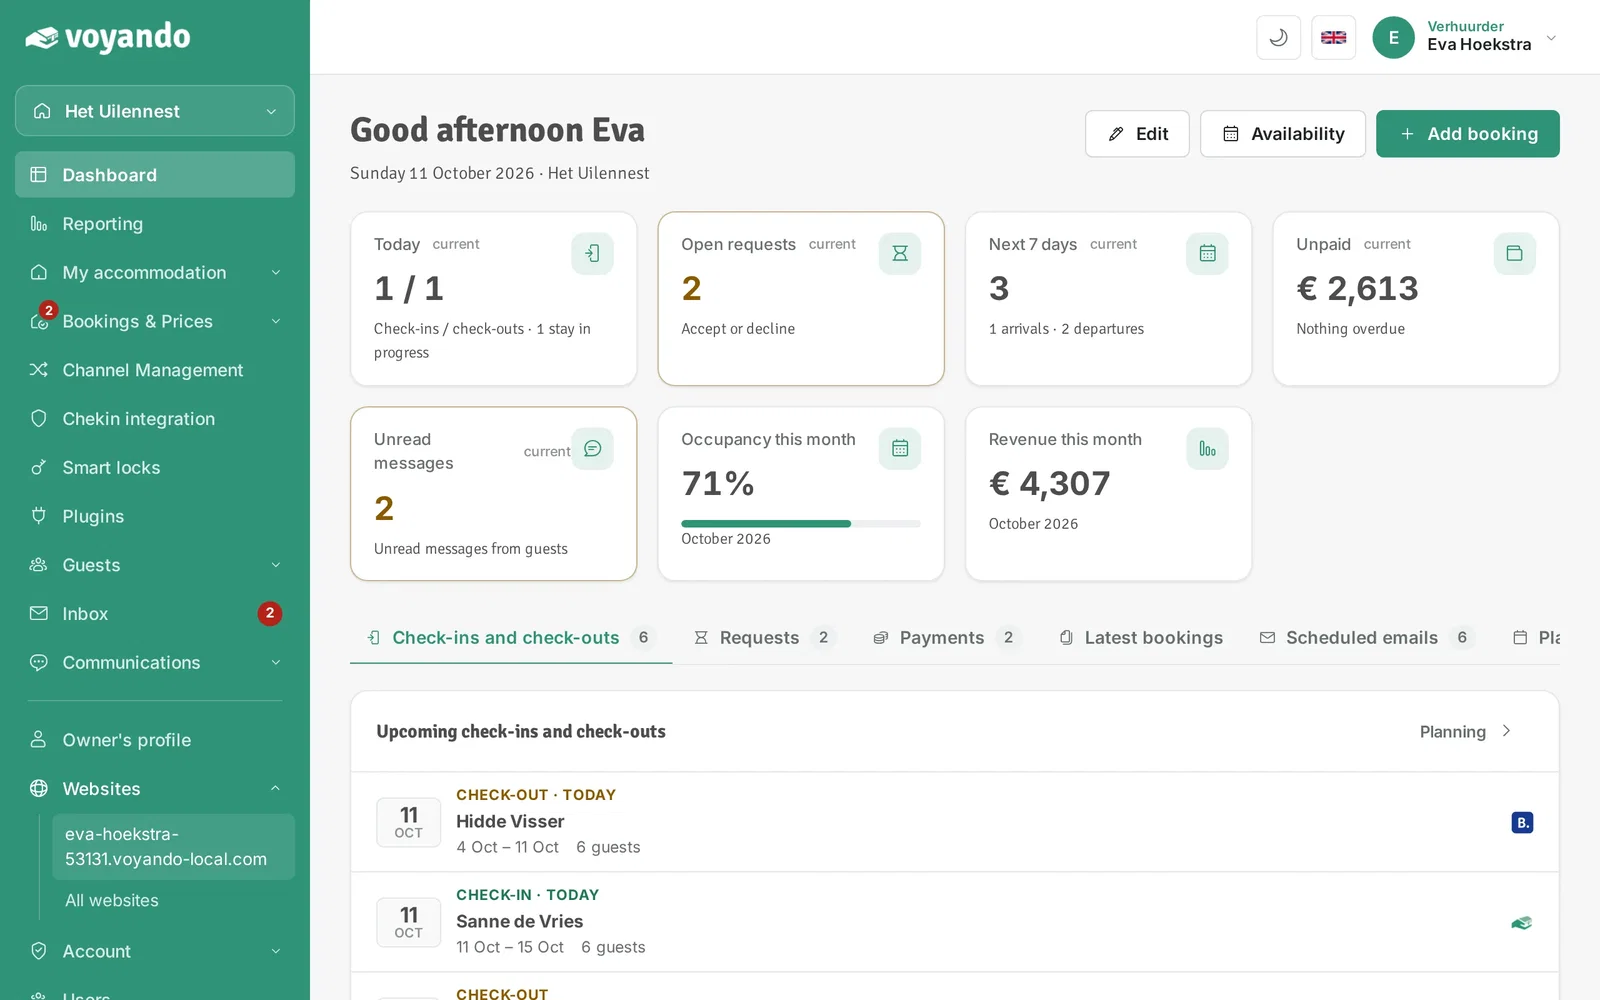
  3. Step 3: Click your website.

    Click your website.
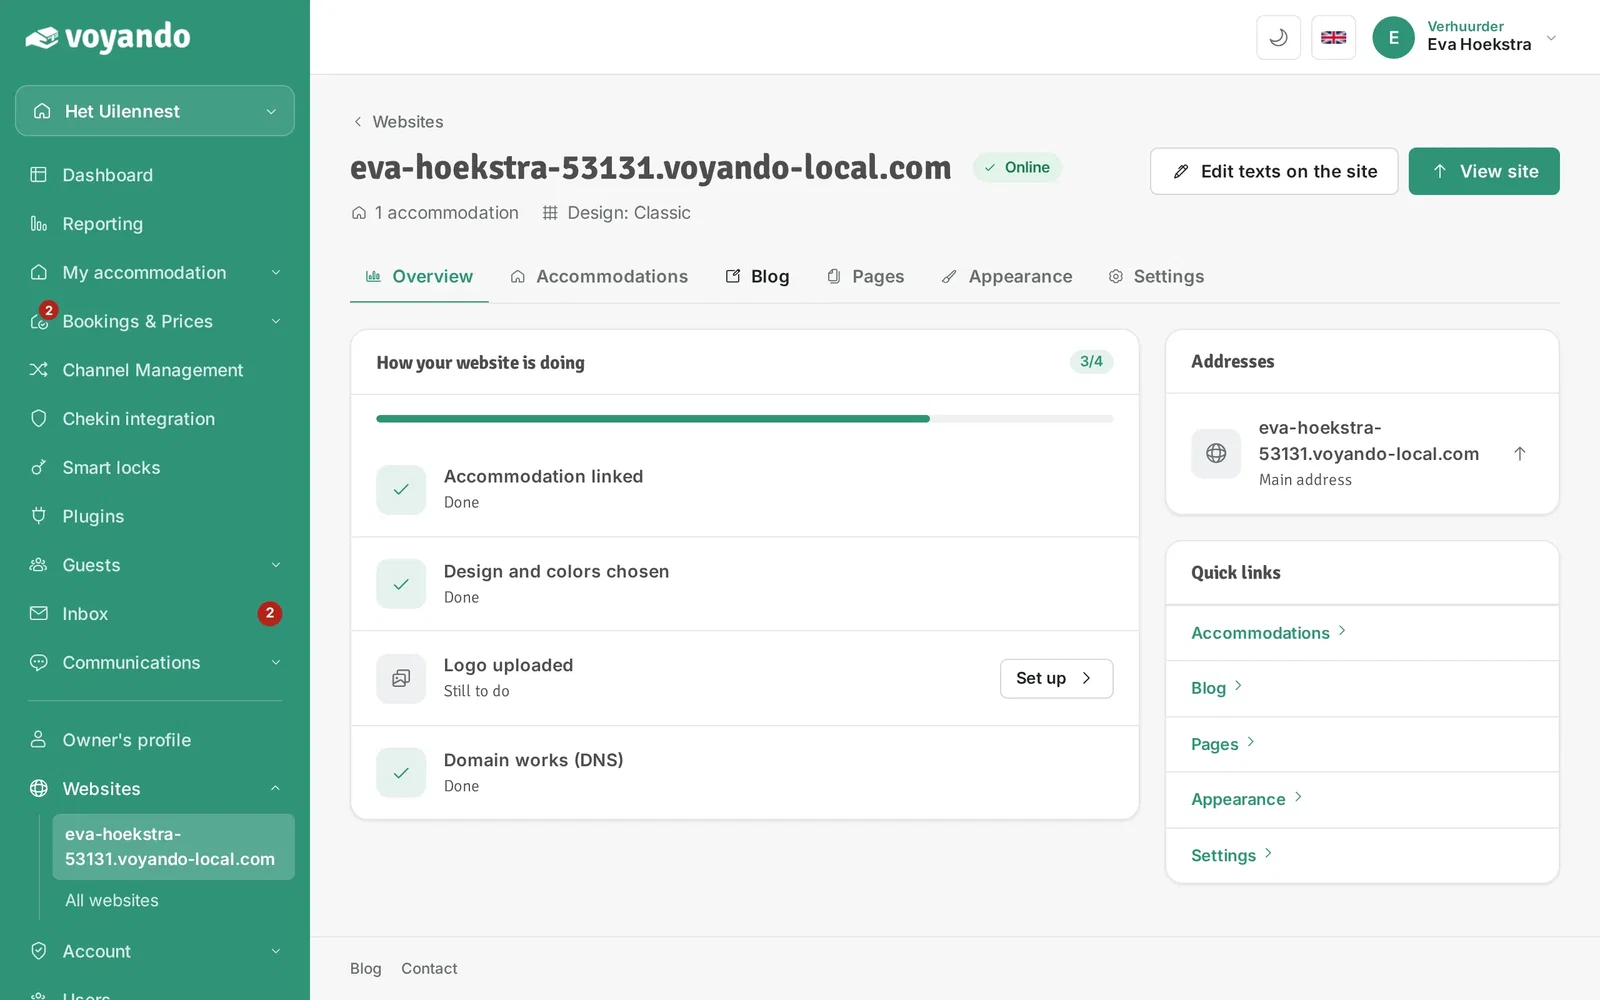
  4. Step 4: Open the Blog tab.

    Open the Blog tab.
  5. Step 5: Click Article to write a new blog post.

    Click Article to write a new blog post.
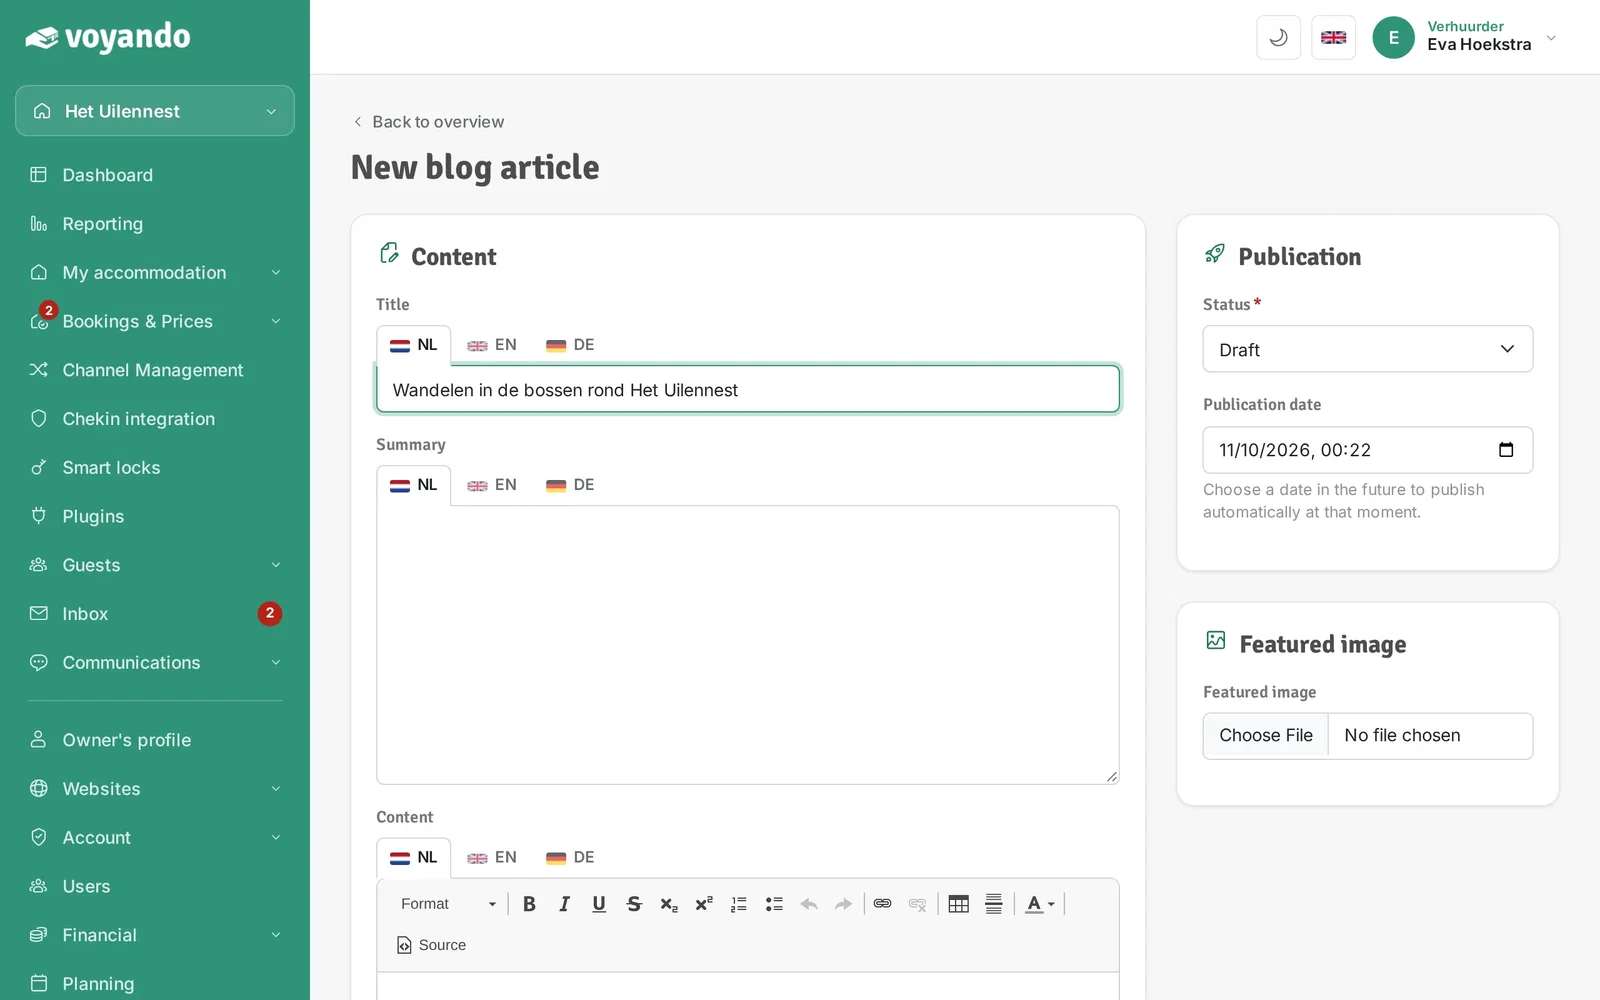
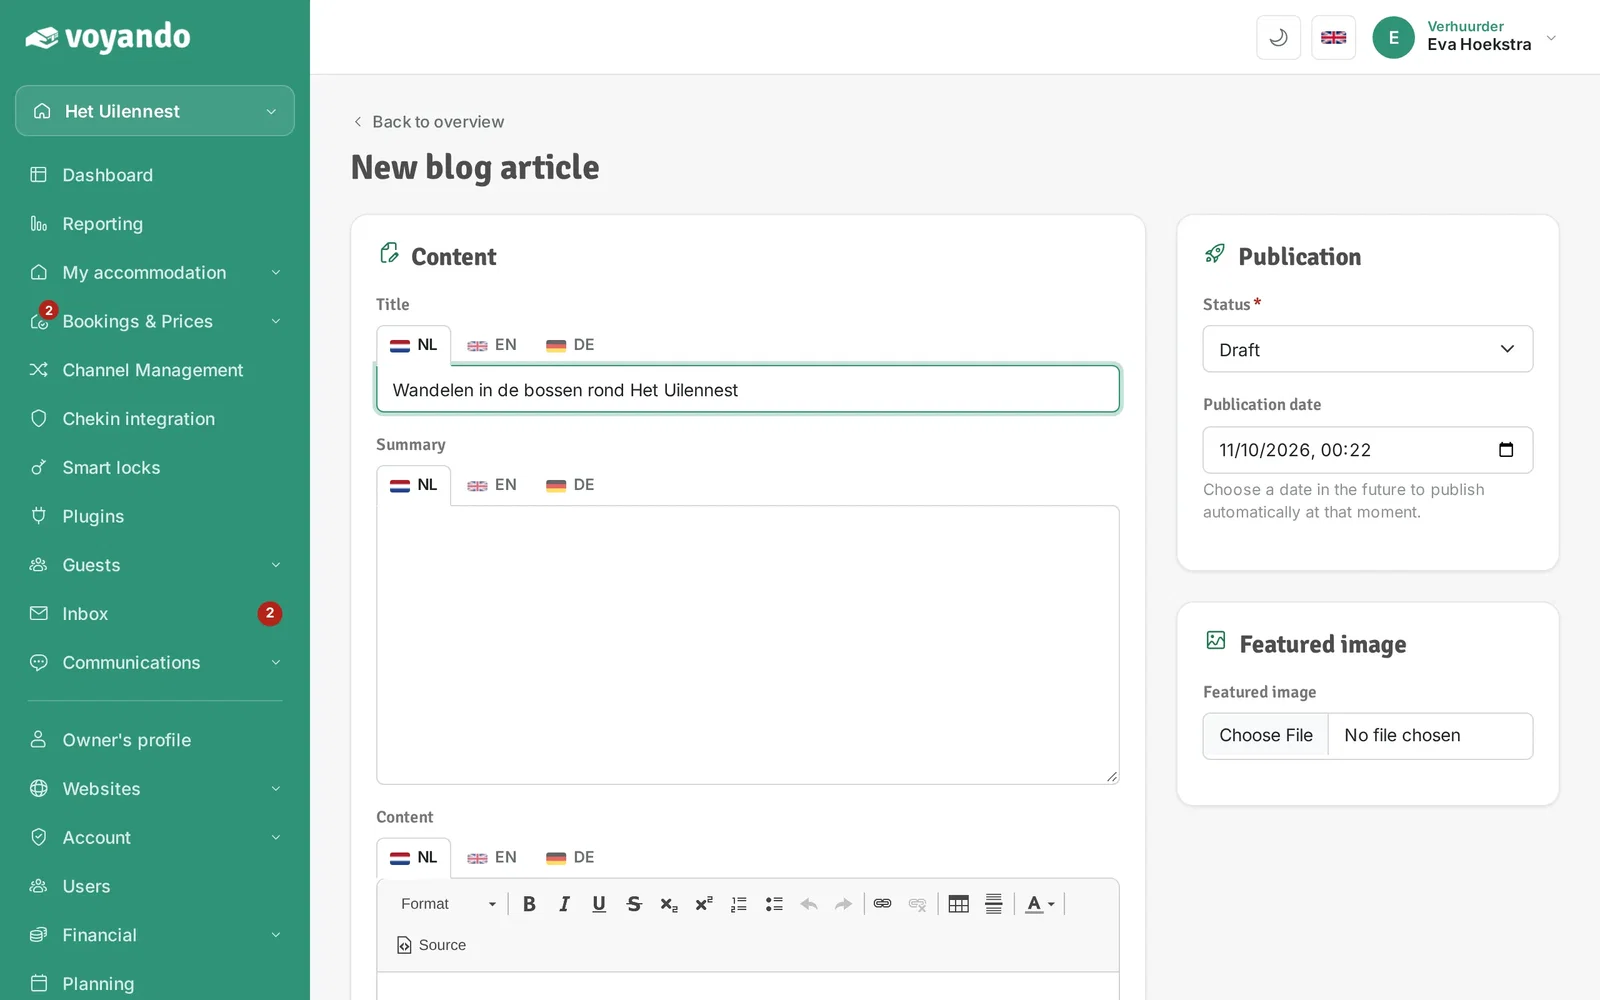
  6. Step 6: Give the post a title.

    Give the post a title.
  7. Step 7: Enter a short summary or introduction.
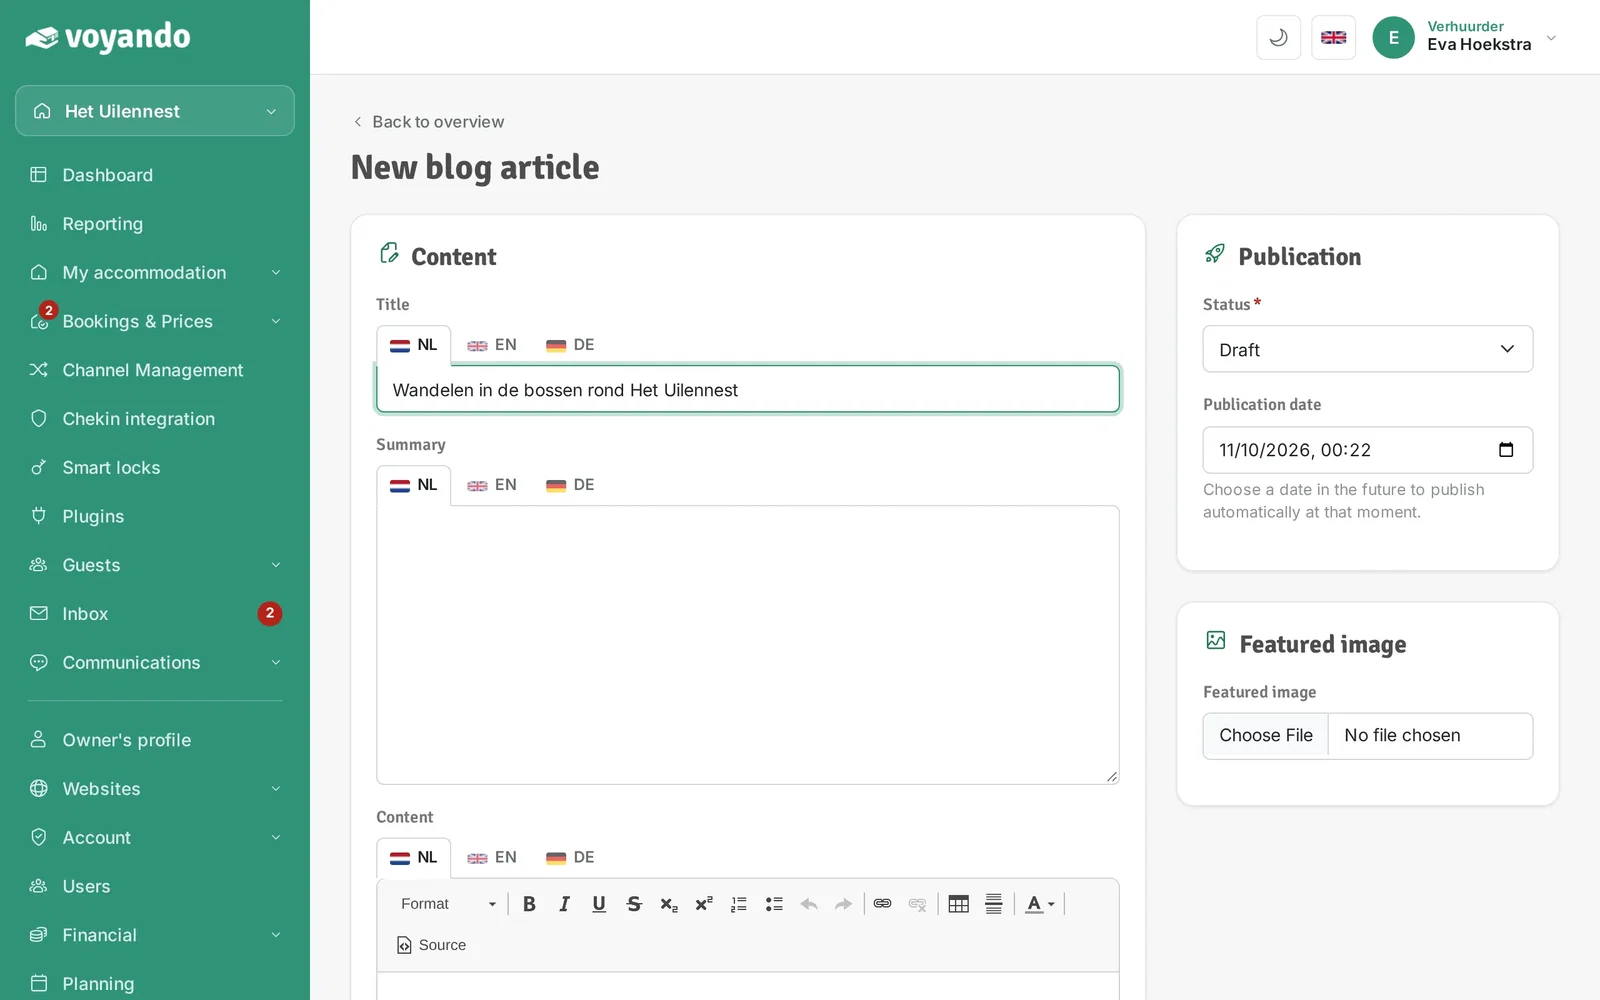
    Enter a short summary or introduction.
  8. Step 8: Write the content of your post here.
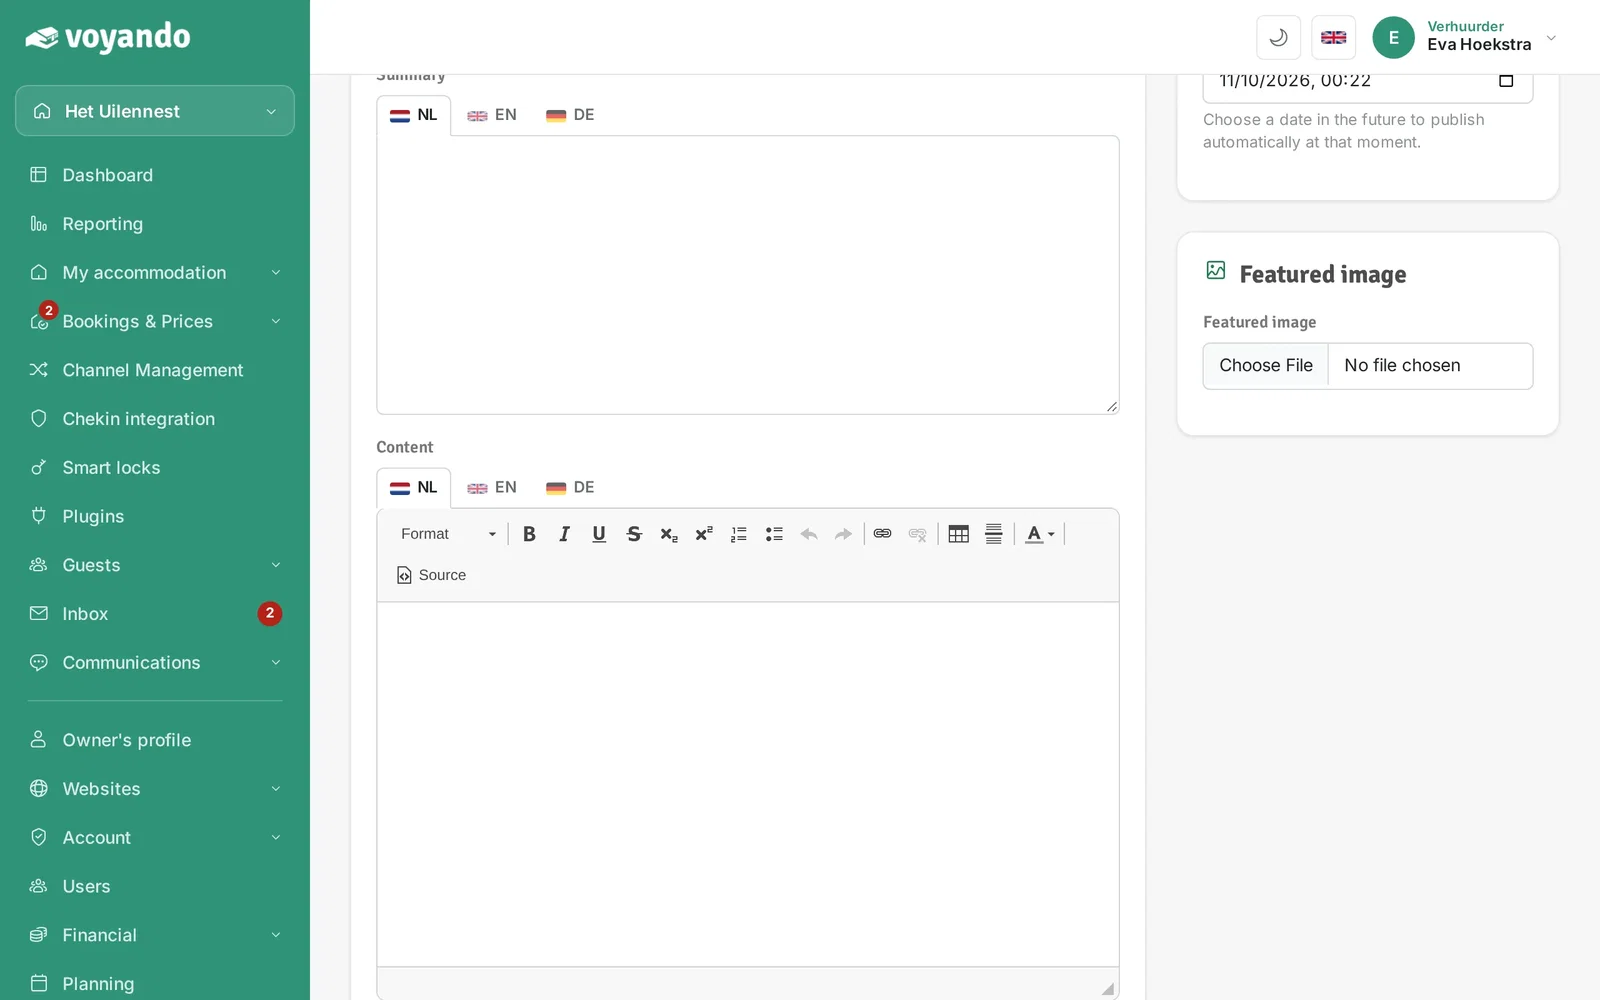
    Write the content of your post here.
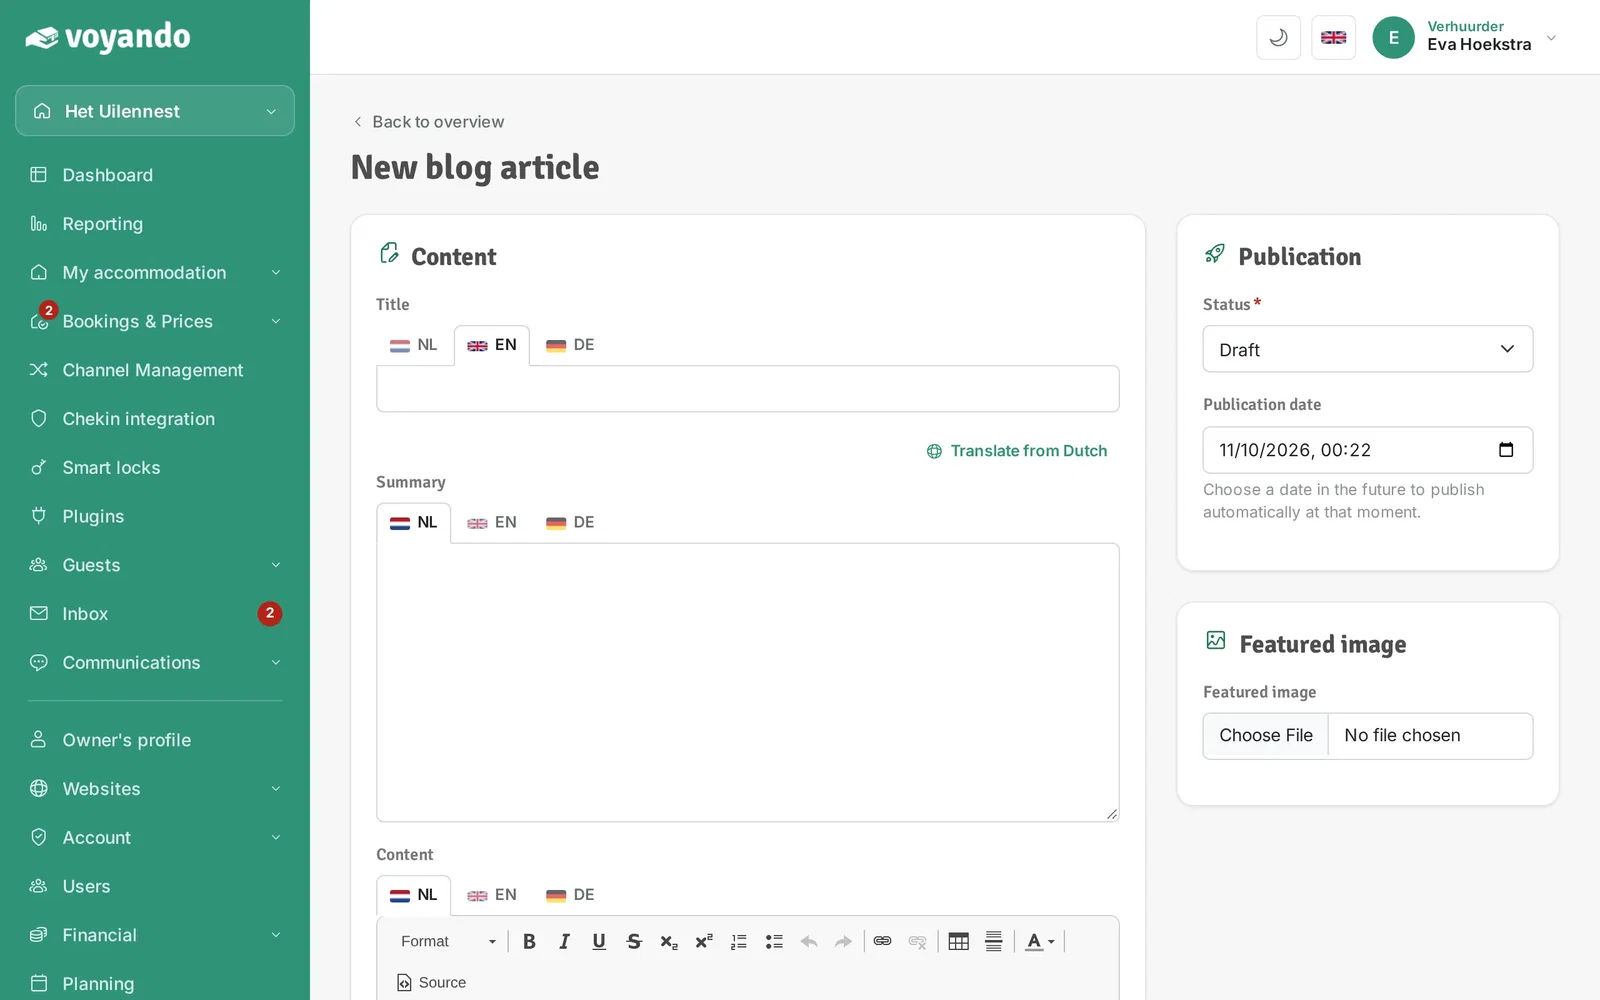
  9. Step 9: Click the flags to enter the translation.
    Click the flags to enter the translation.
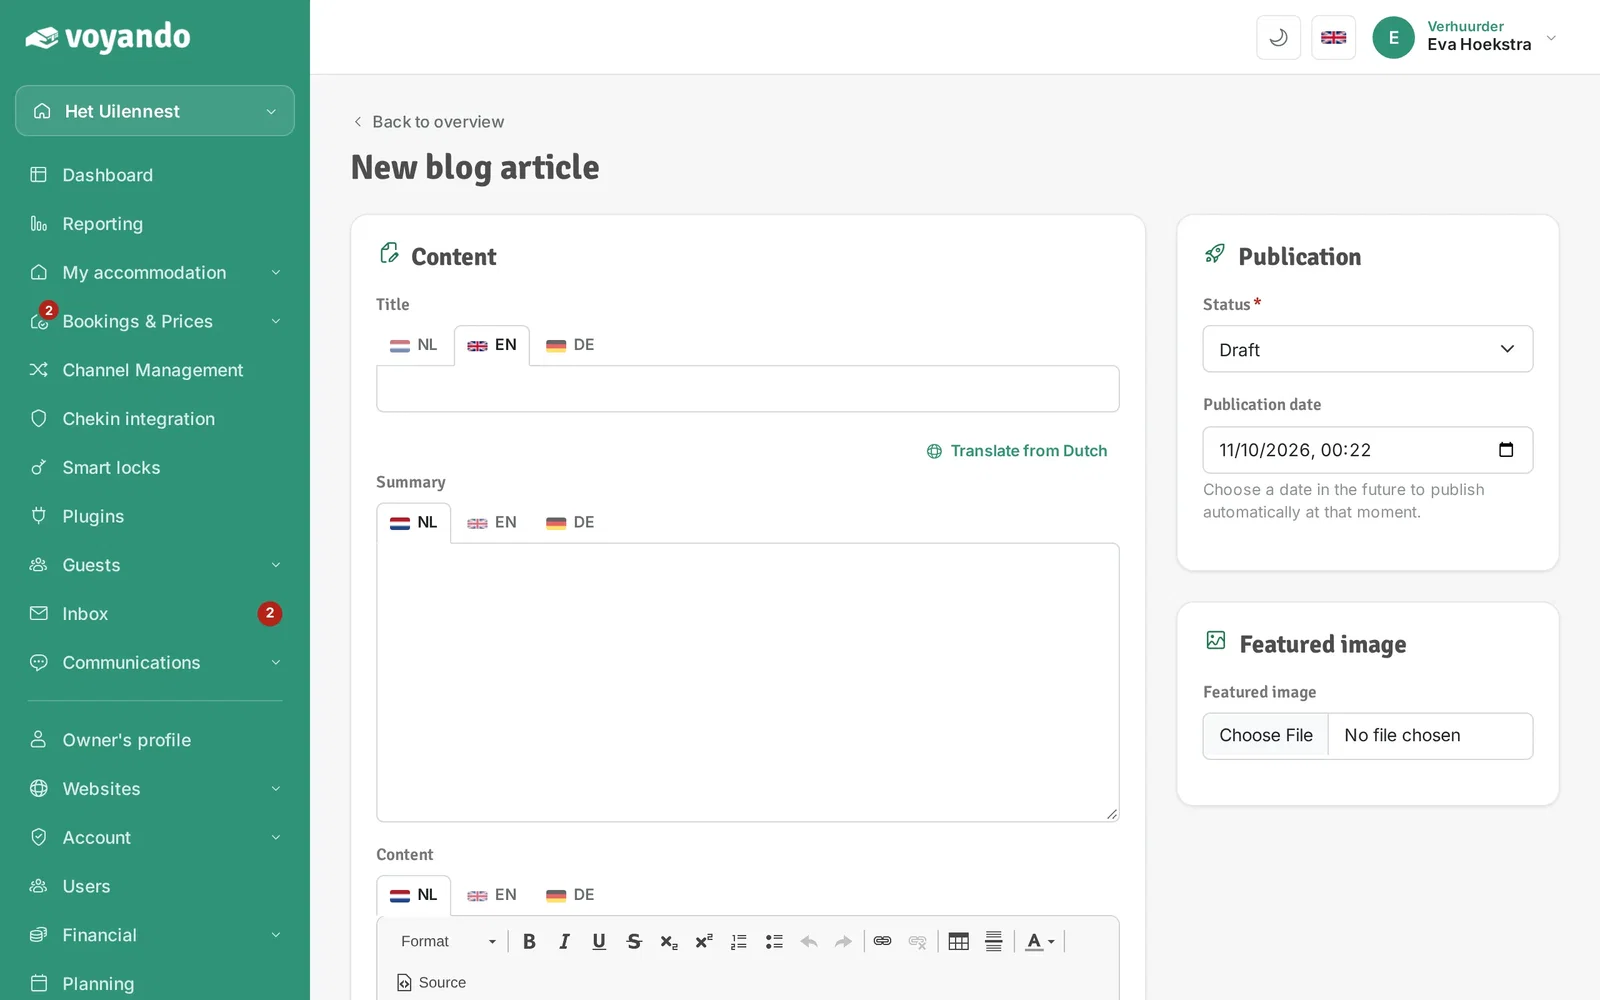
  10. Step 10: Choose Published to show the post right away, or leave it as Draft.
    Choose Published to show the post right away, or leave it as Draft.
  11. Step 11: Optionally choose a publication date and time in the future; the post then appears automatically at that moment.
    Optionally choose a publication date and time in the future; the post then appears automatically at that moment.
  12. Step 12: Choose an image for the post.
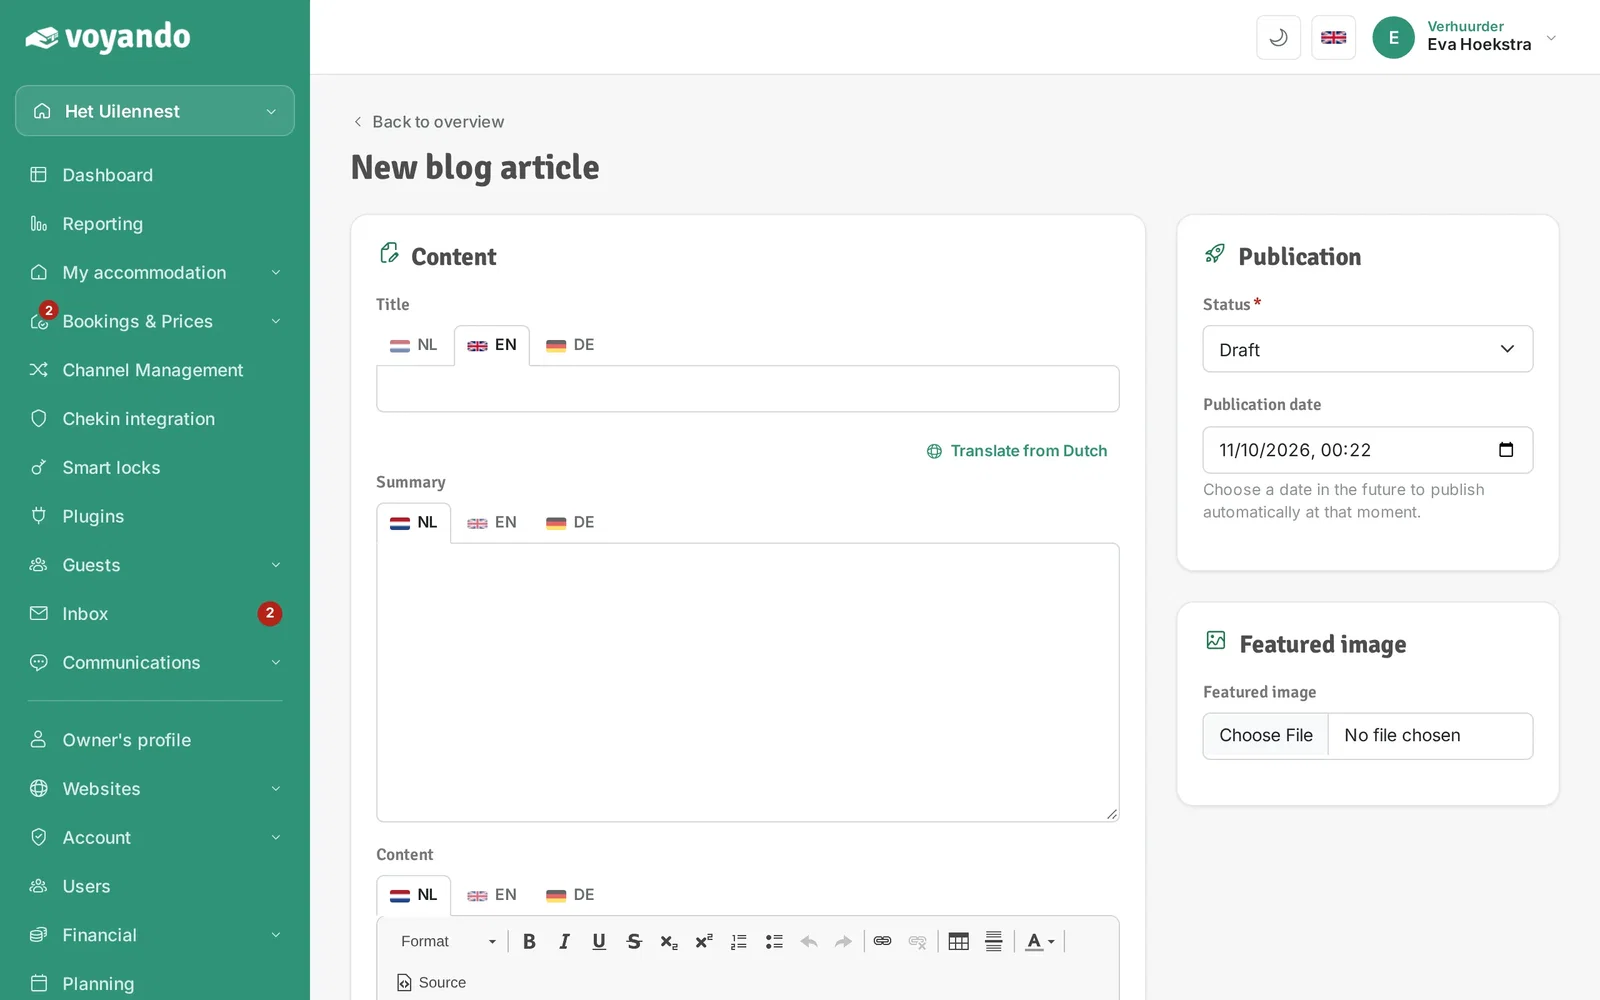
    Choose an image for the post.
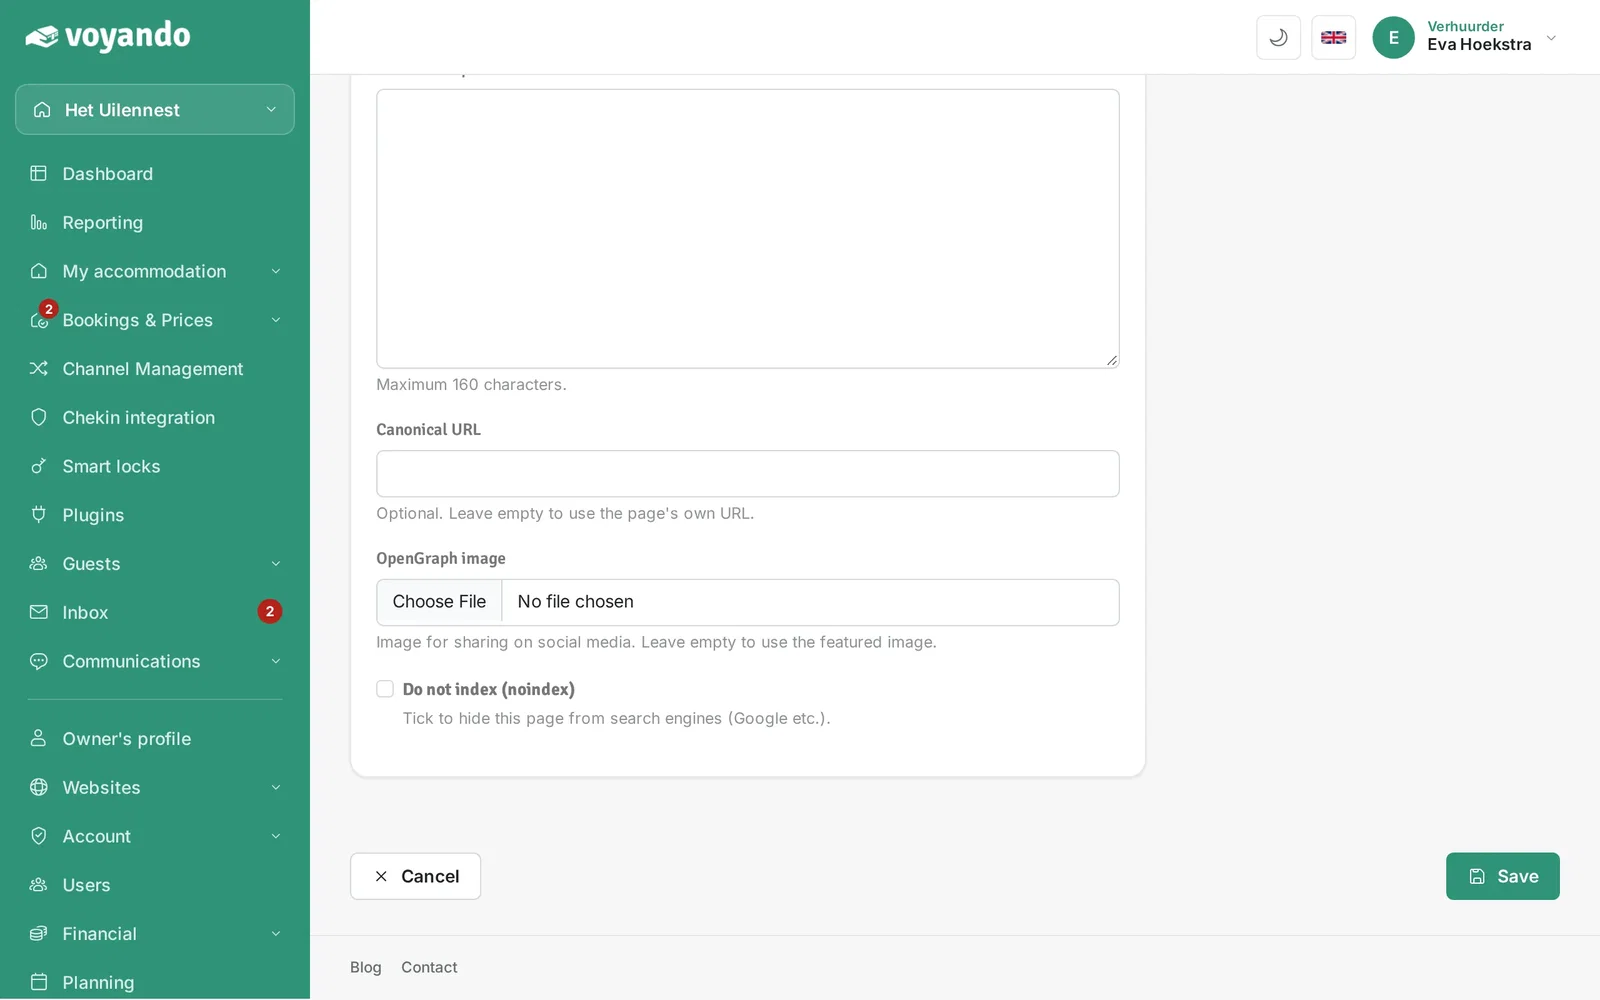
  13. Step 13: Want to set up SEO yourself? Click SEO & advanced. This is optional; if you leave the fields empty, we fill them in automatically.
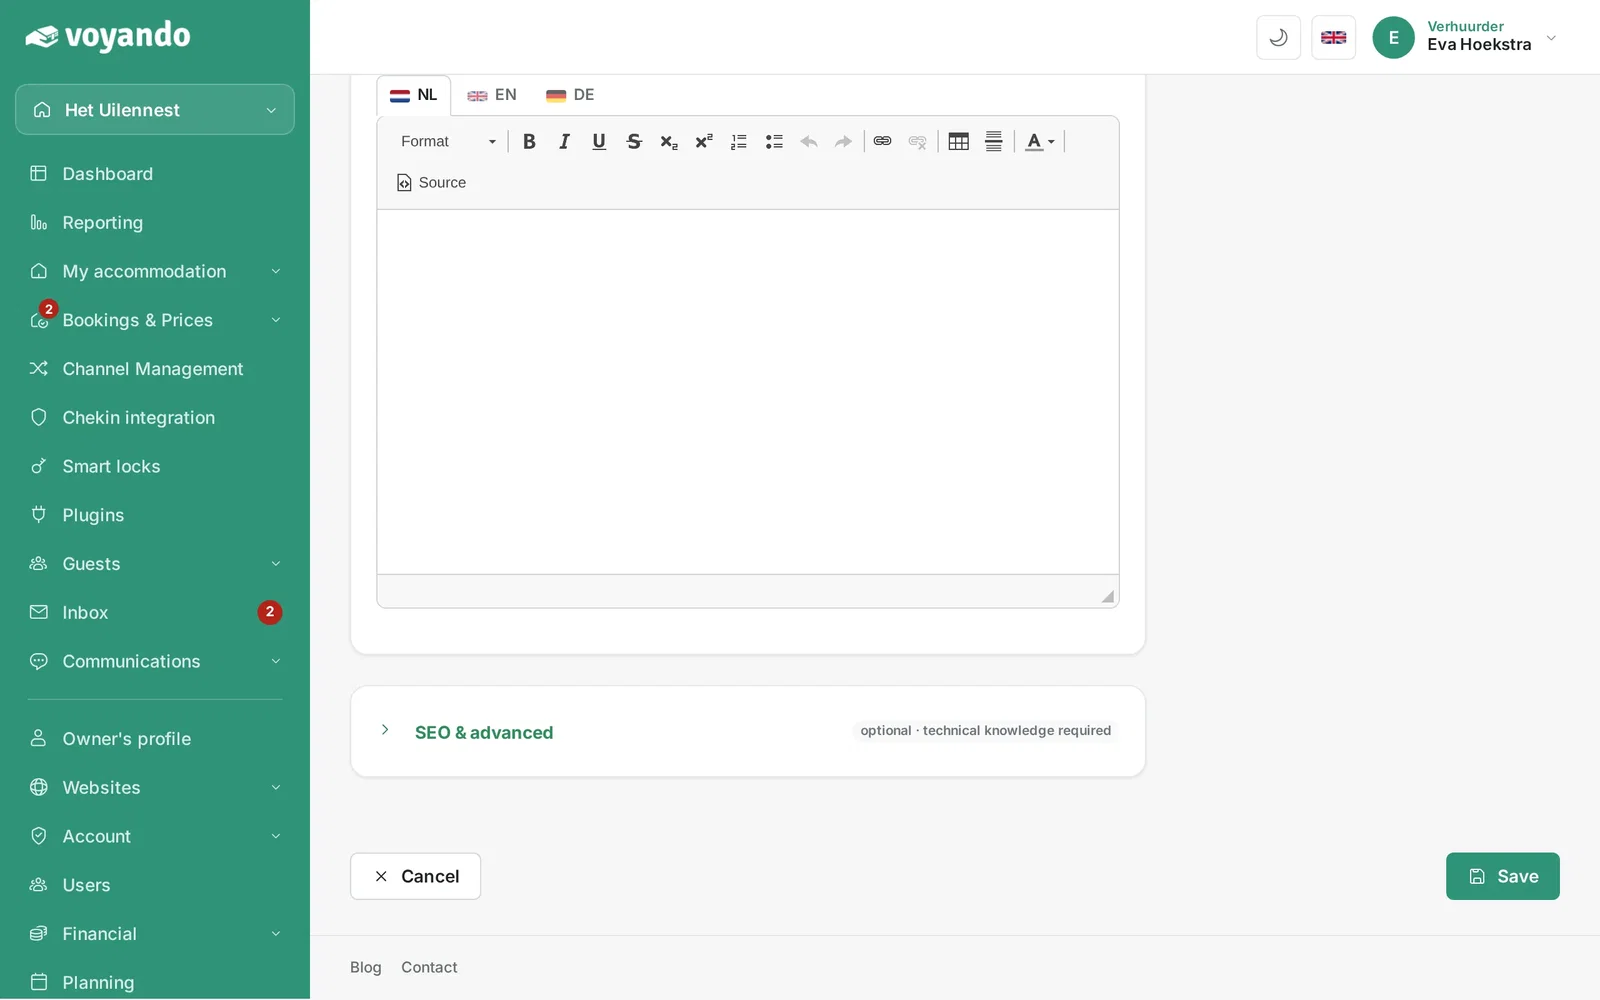
    Want to set up SEO yourself? Click SEO & advanced. This is optional; if you leave the fields empty, we fill them in automatically.
  14. Step 14: The Slug is the last part of the URL. Leave it empty and we use the title.
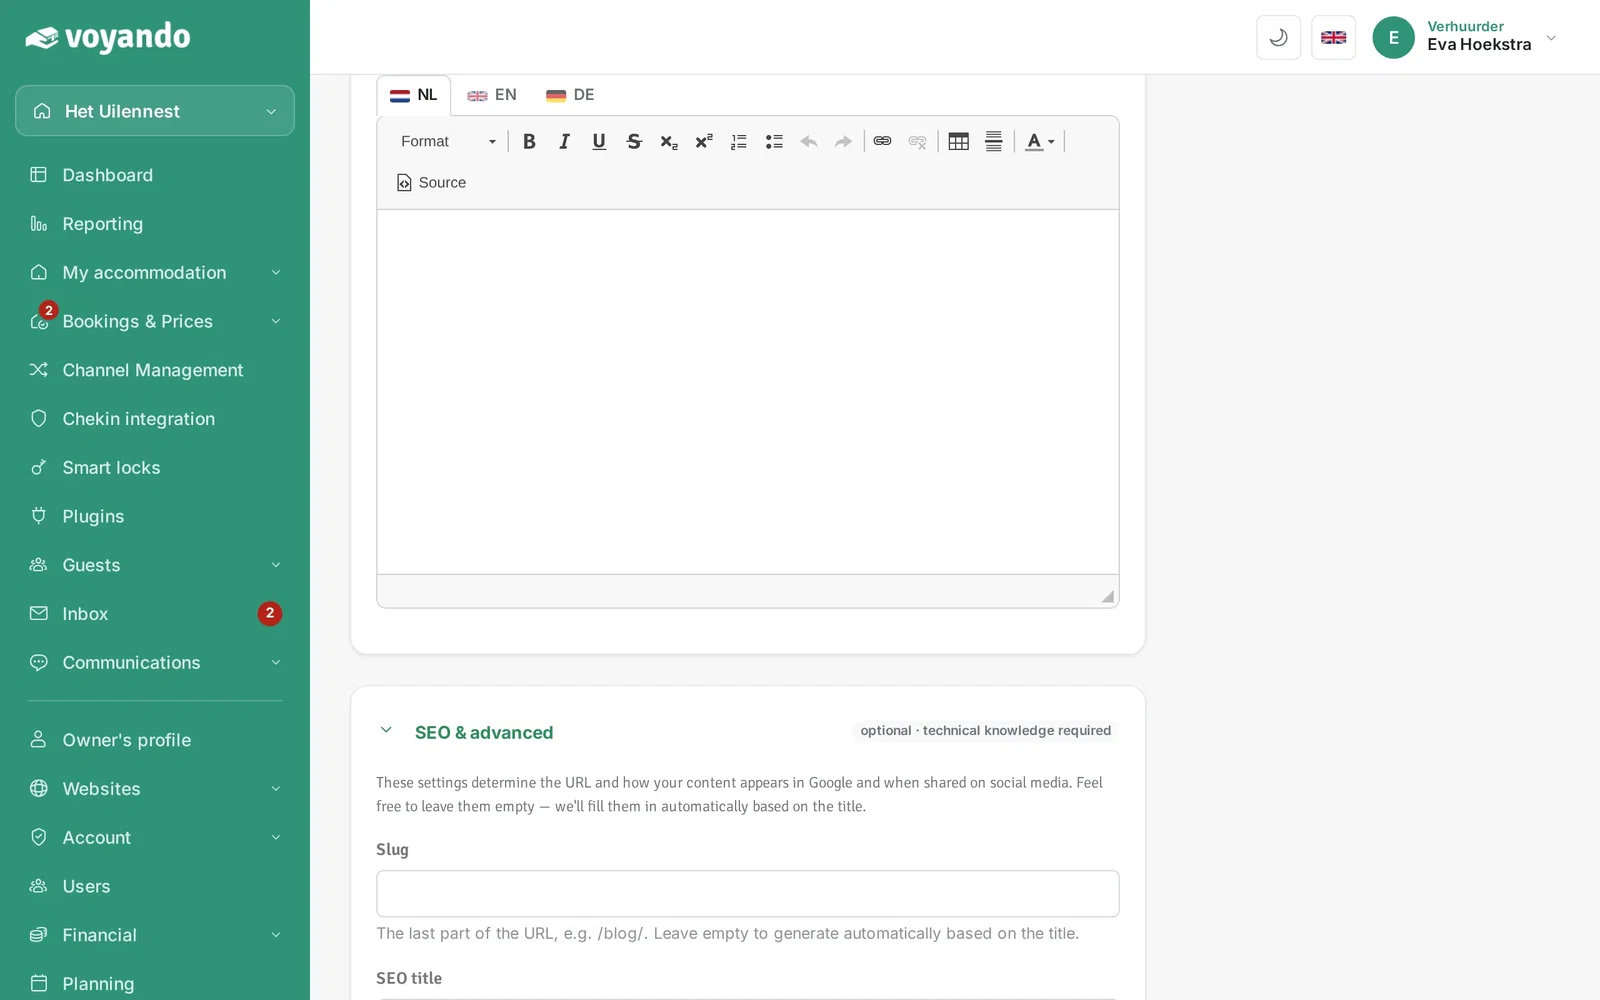
    The Slug is the last part of the URL. Leave it empty and we use the title.
  15. Step 15: Enter the SEO title and a short description. Search engines such as Google may show them in the search results.
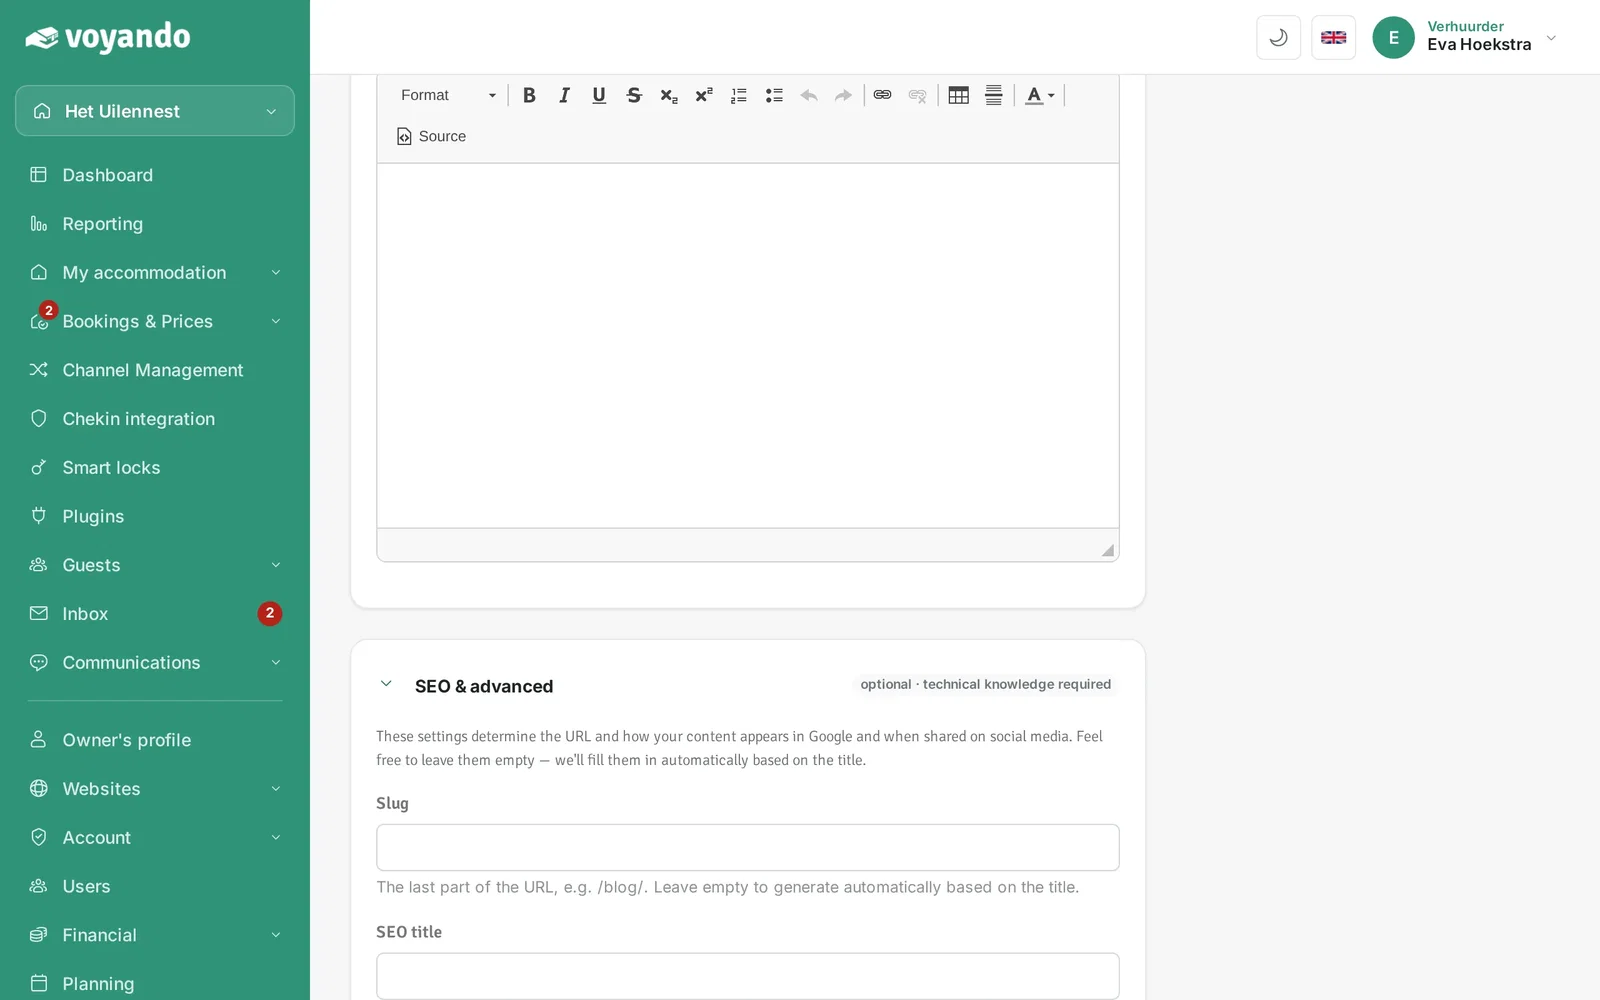
    Enter the SEO title and a short description. Search engines such as Google may show them in the search results.
  16. Step 16: Tick this if you don't want search engines to include the post in their search results.
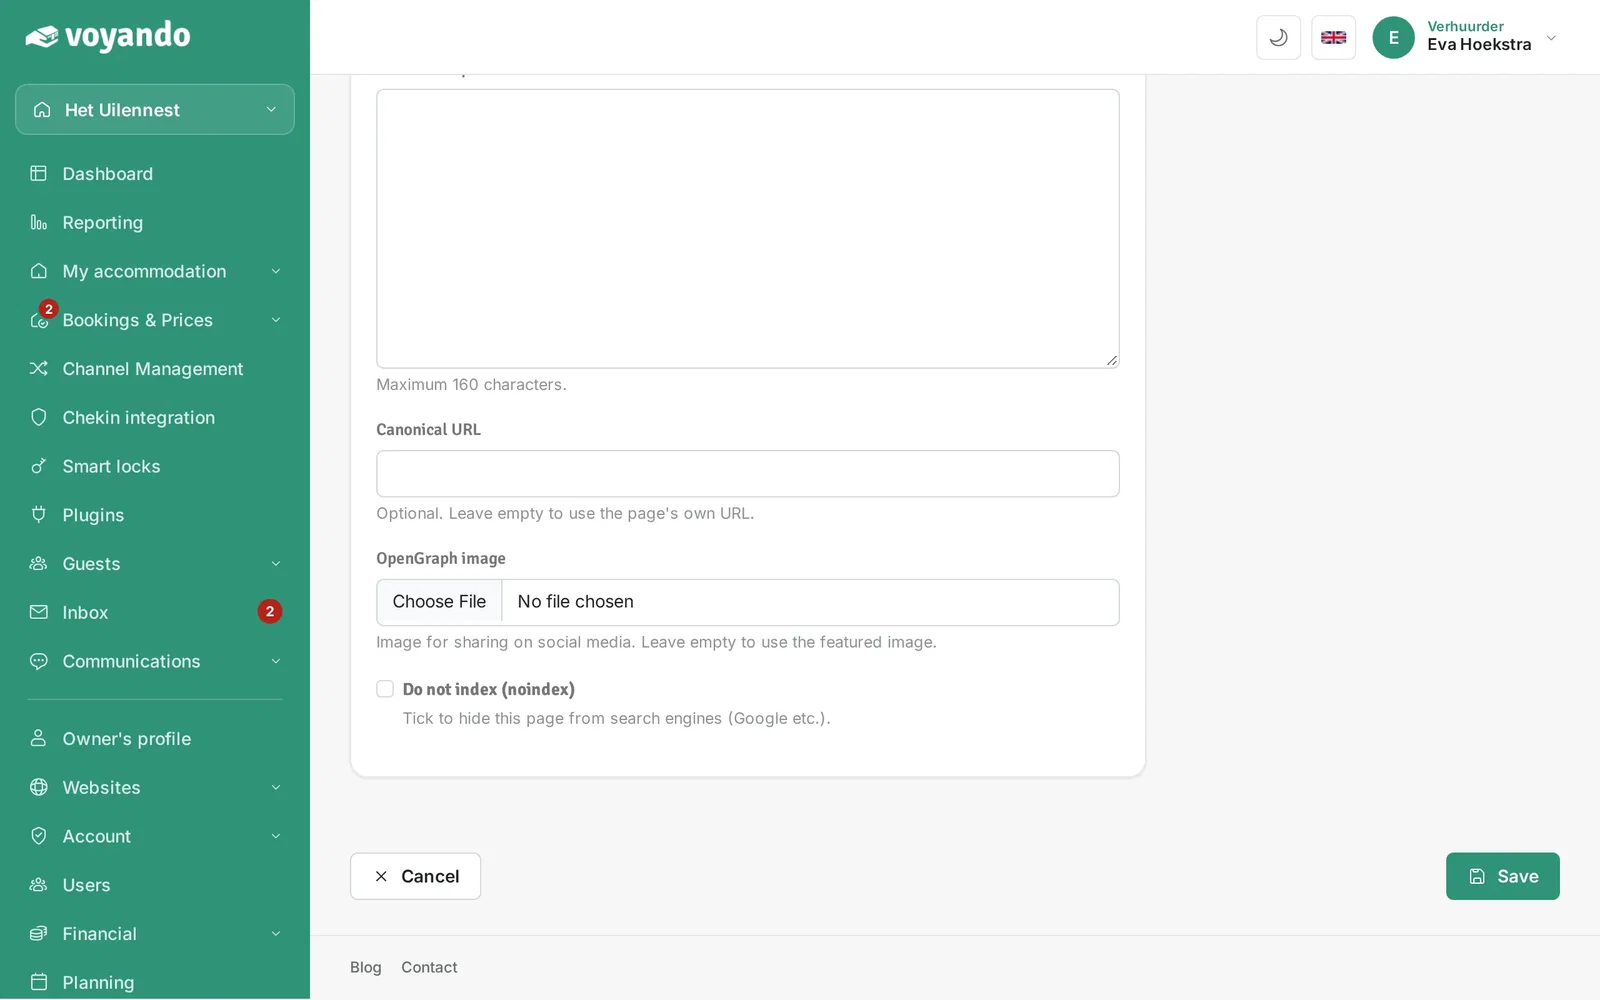
    Tick this if you don't want search engines to include the post in their search results.
  17. Step 17: Click Save.

    Click Save.

Can’t find your answer here?

Our support team will be happy to help you. Please email us or call us on weekdays, and we’ll look into it with you.

REVIEWS VAN GEBRUIKERS

Wat verhuurders zeggen over
hun ervaring met Voyando

Veluwseboshuisjes.nl
★★★★★

"Everything runs automatically and my website is always up. No more hassle with separate systems or hiring people. It saves me so much time and it looks really professional."

A
Luxelandleven.nl
★★★★★

"Since then the payment process runs automatically and I no longer have to check manually whether payments have been made. That saves an enormous amount of work. You keep improving continuously, I really appreciate that."

JW
Jan Willem
Stellemaris.com
★★★★★

"With Voyando I have one clear system that always works. My communication with guests goes exactly the way I want and I don't have to do anything twice. And when I have questions, I get help from customer service right away."

F
Azurresidences.fr
★★★★★

"The backend is clear and works intuitively, without unnecessary features. Everything feels logical and stable. A reliable system that is truly built with the owner in mind."

M