How do I set up an automated email?
Set up an automated email template with variable values and specify when it should be sent, so that your guests always receive the correct information.
Step by step · 21 steps
-
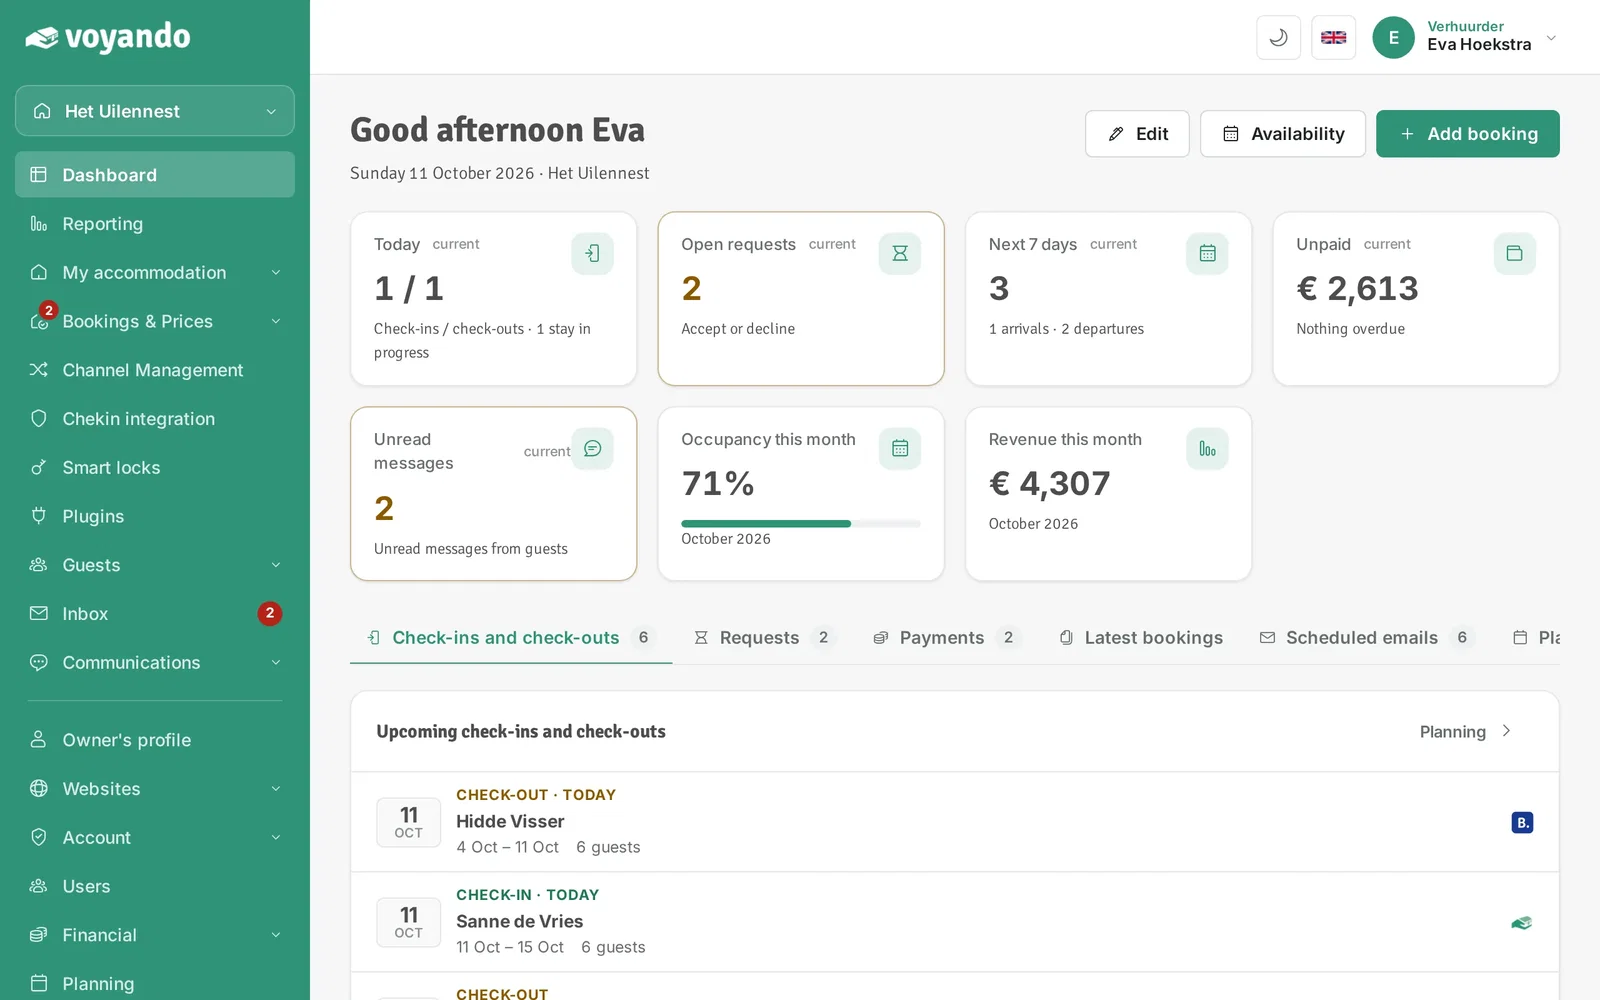
Step 1: Go to your dashboard.
-
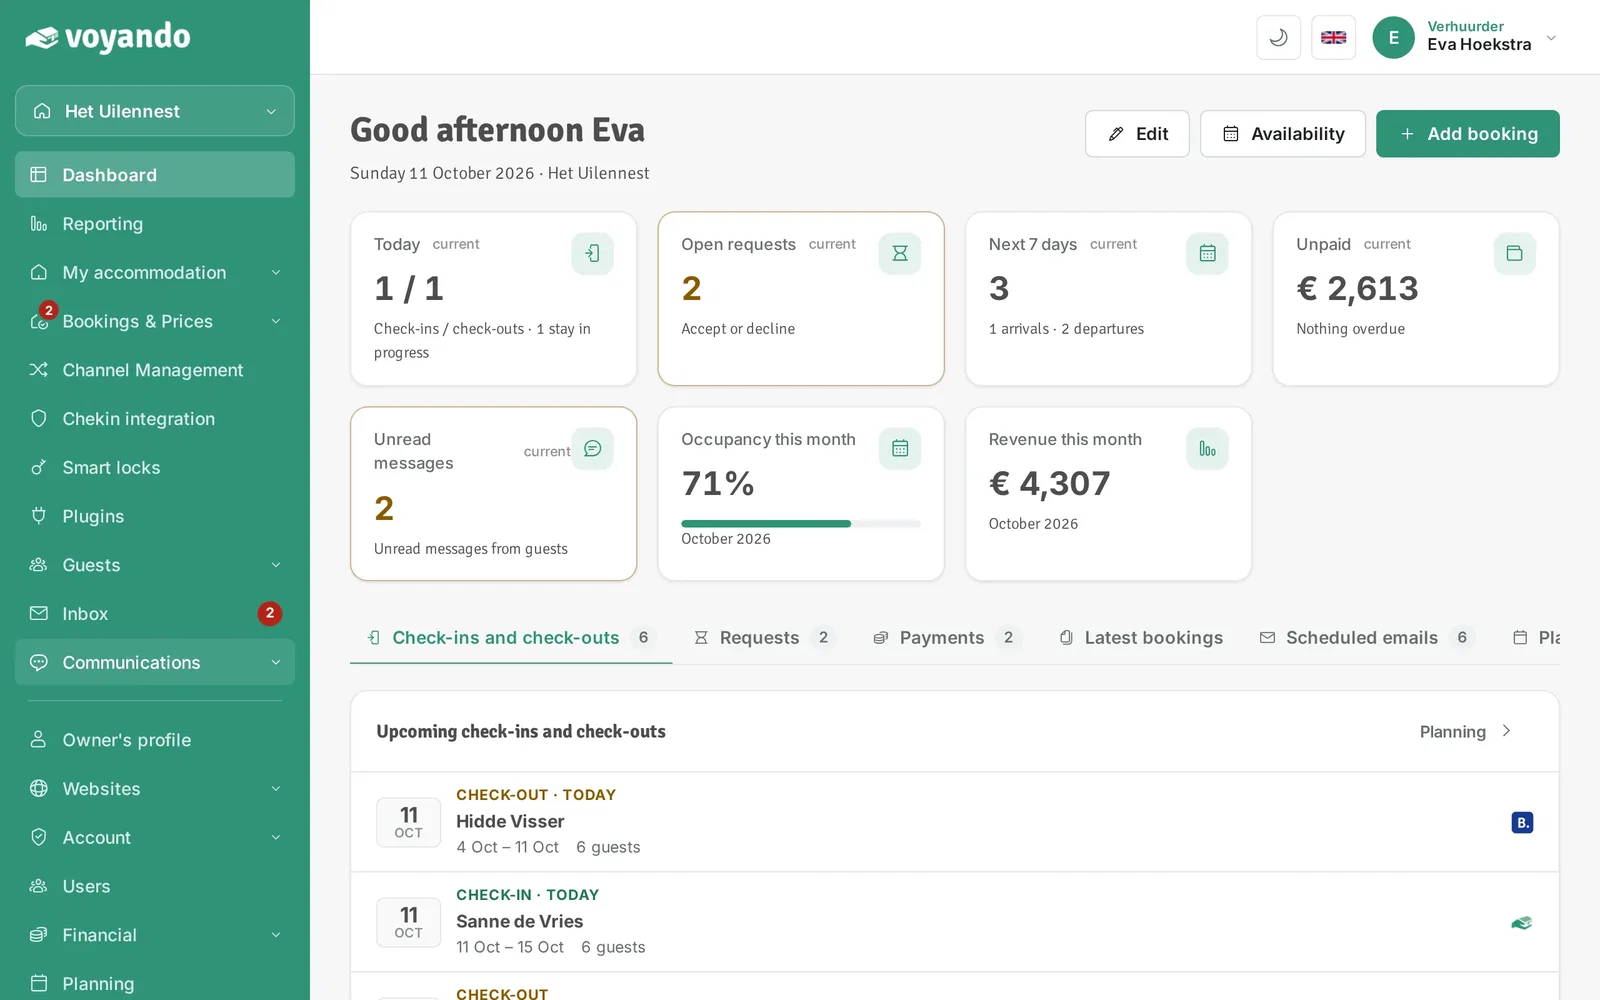
Step 2: Click Communications in the menu.
-
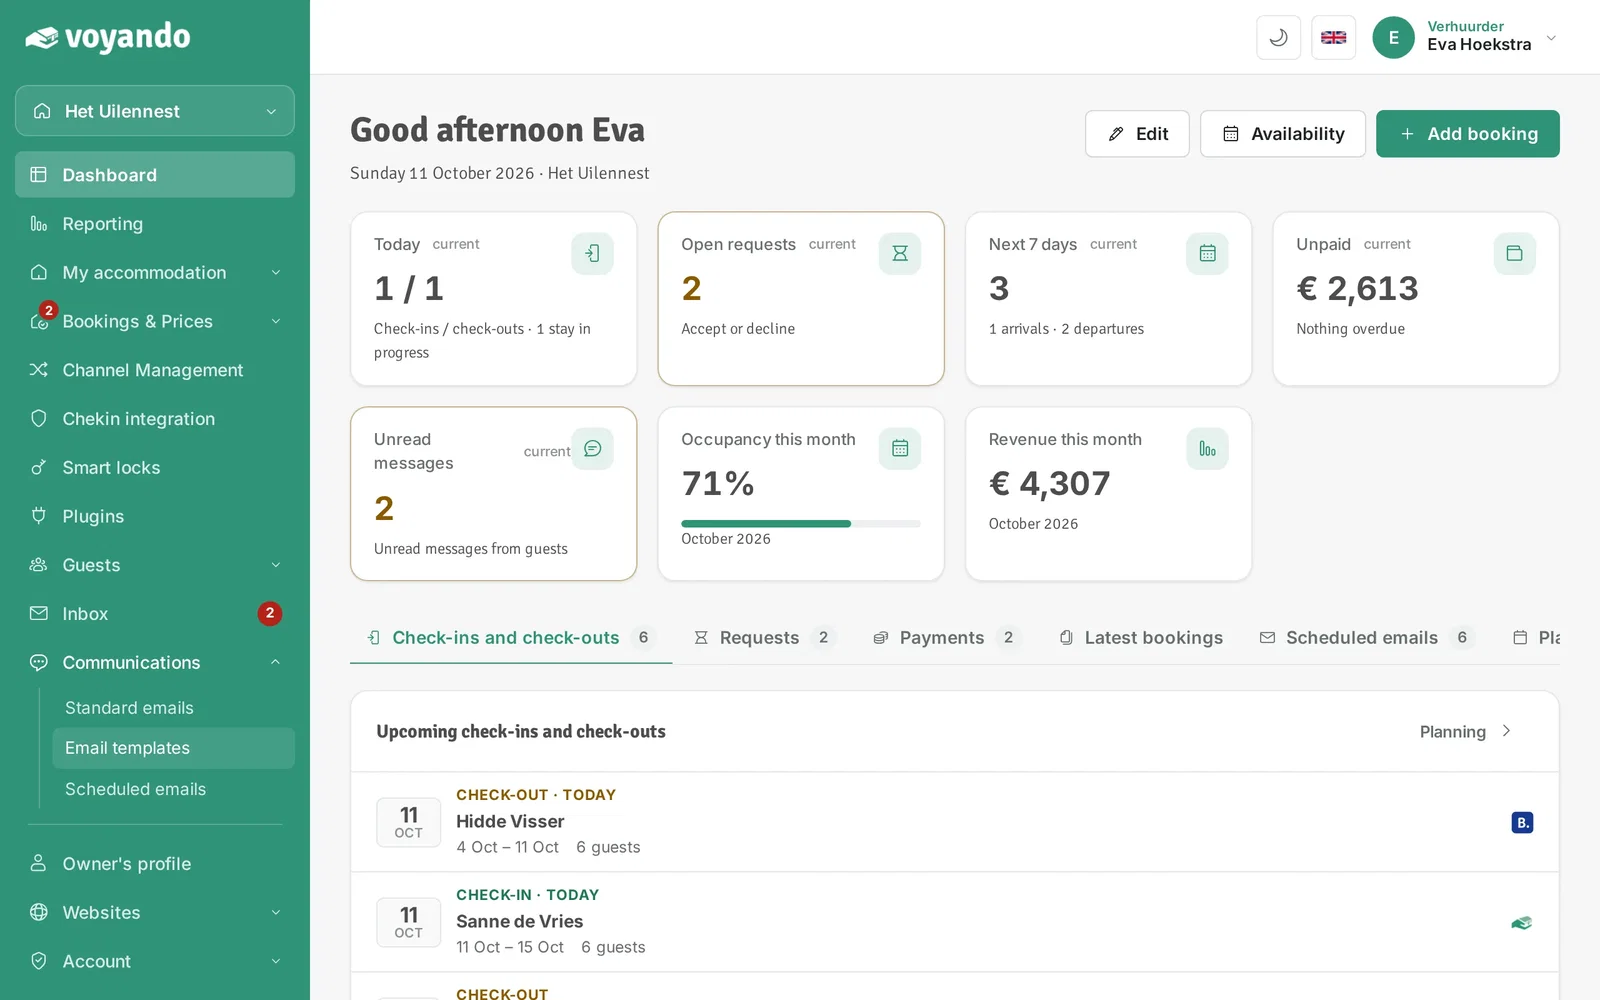
Step 3: Click Email templates.
-
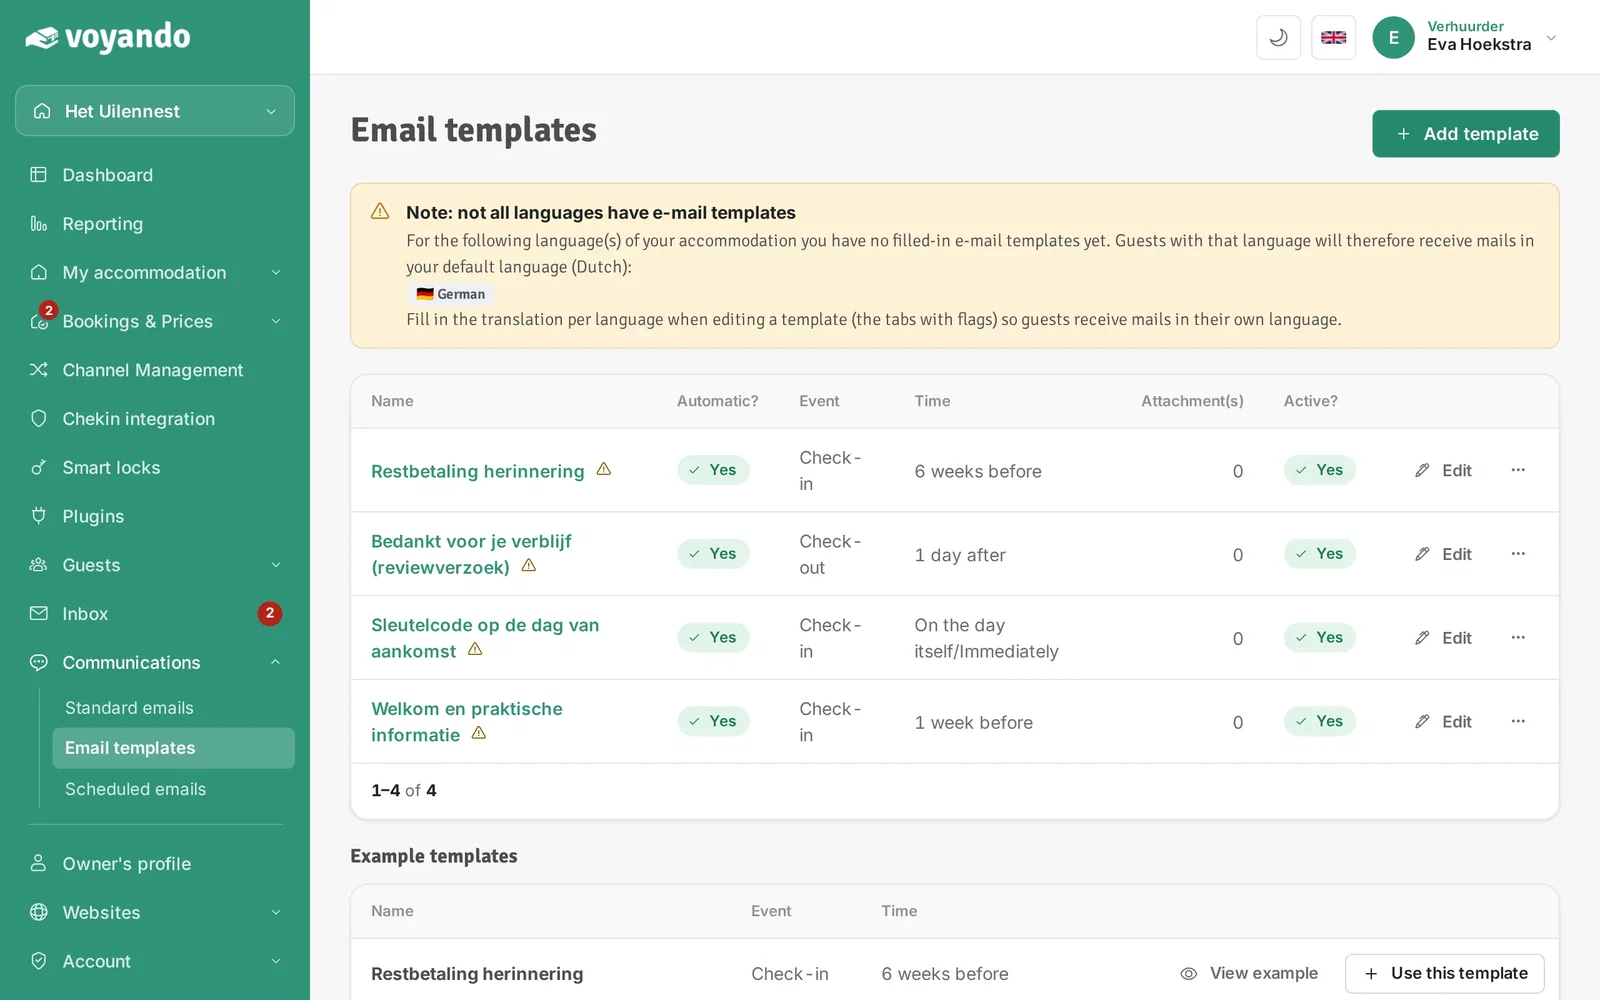
Step 4: Click Add template.
-
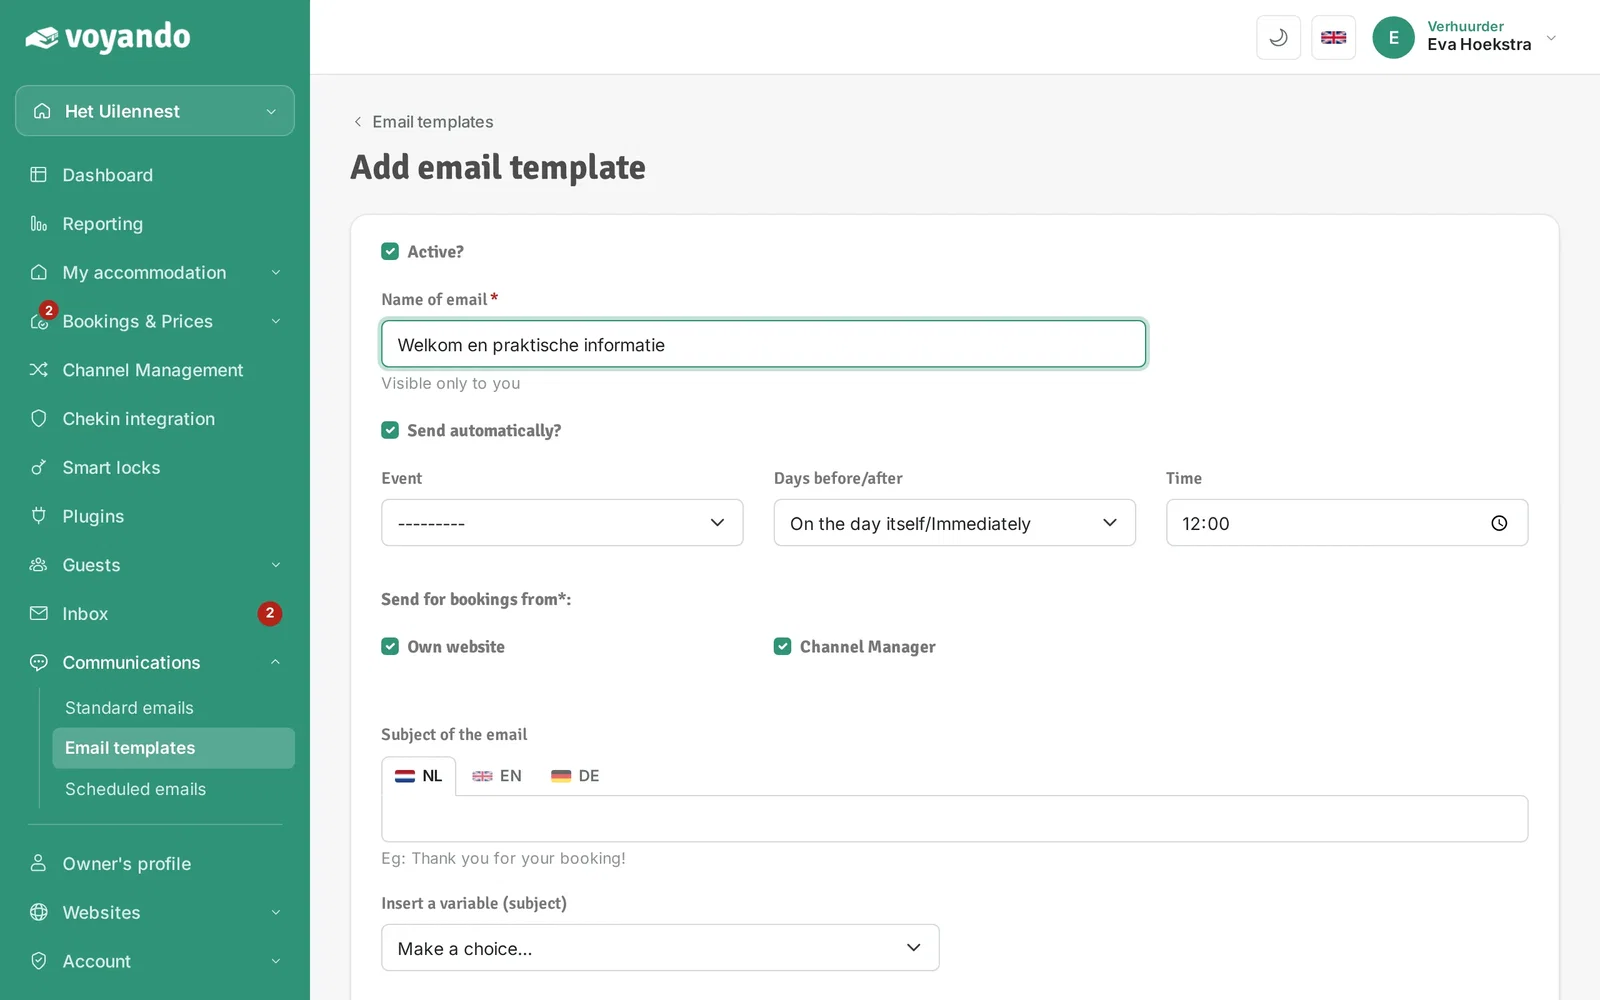
Step 5: Give the template a name under Name of email. Only you see this name, guests don't.

-
Step 6: Keep the option to send automatically ticked, so Voyando sends the email by itself.
-
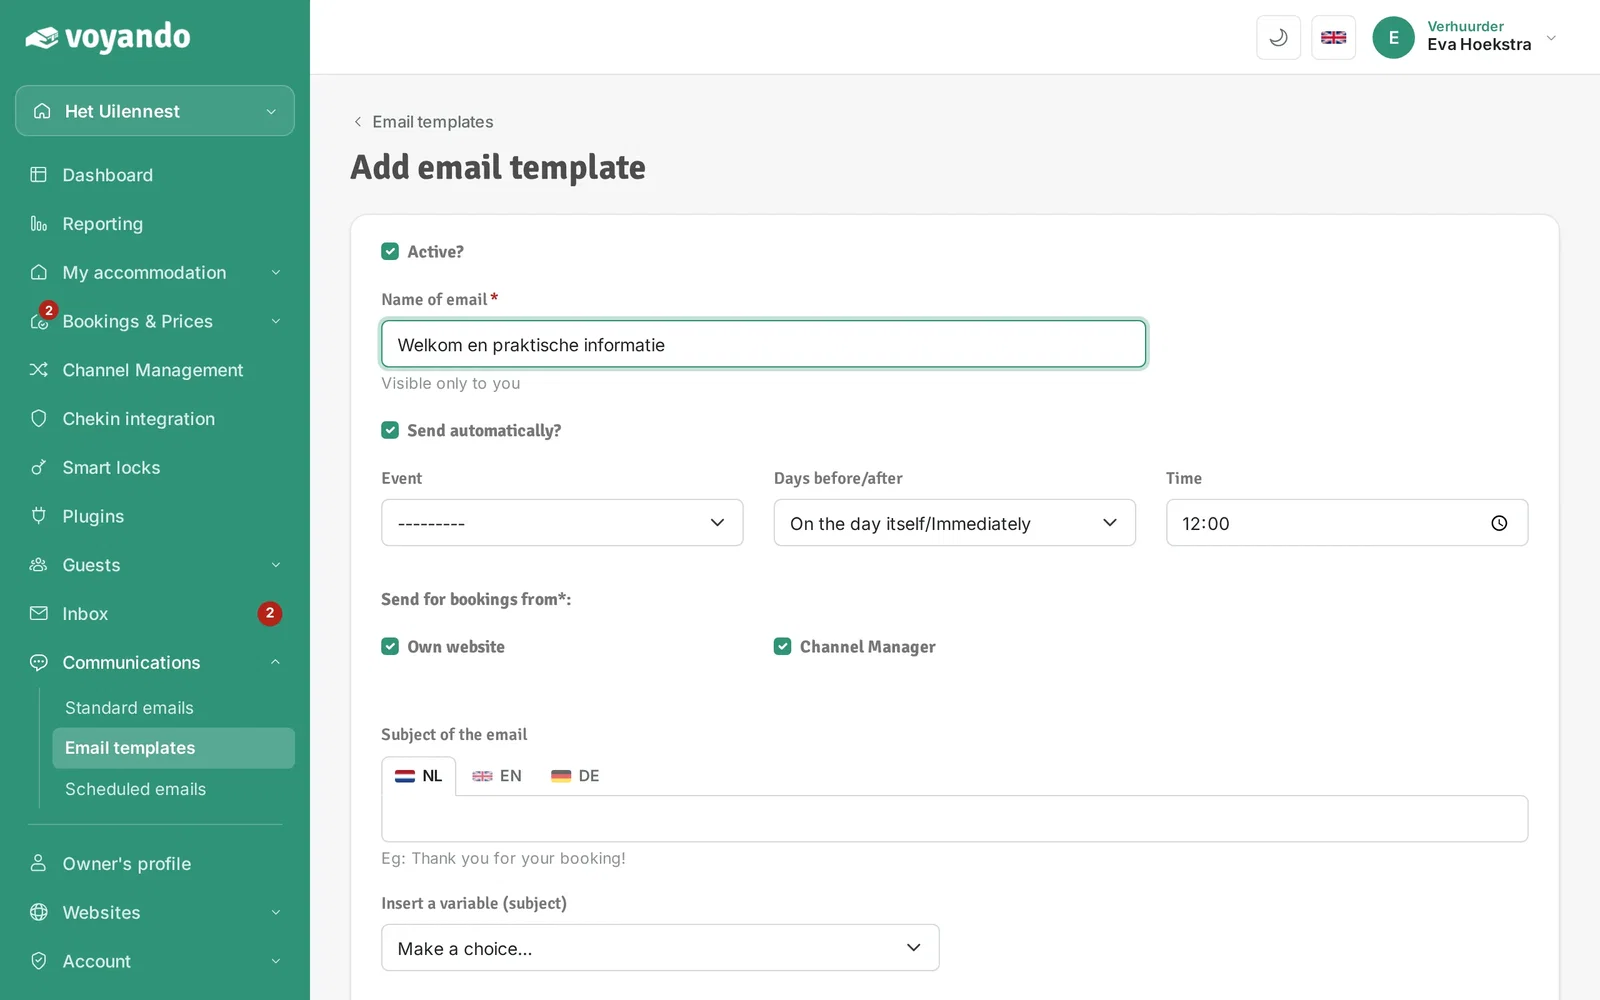
Step 7: Link the email to a moment under Event: time of booking, check-in or check-out.

-
Step 8: Under Days before/after, choose how many days before or after that event the email is sent.
-
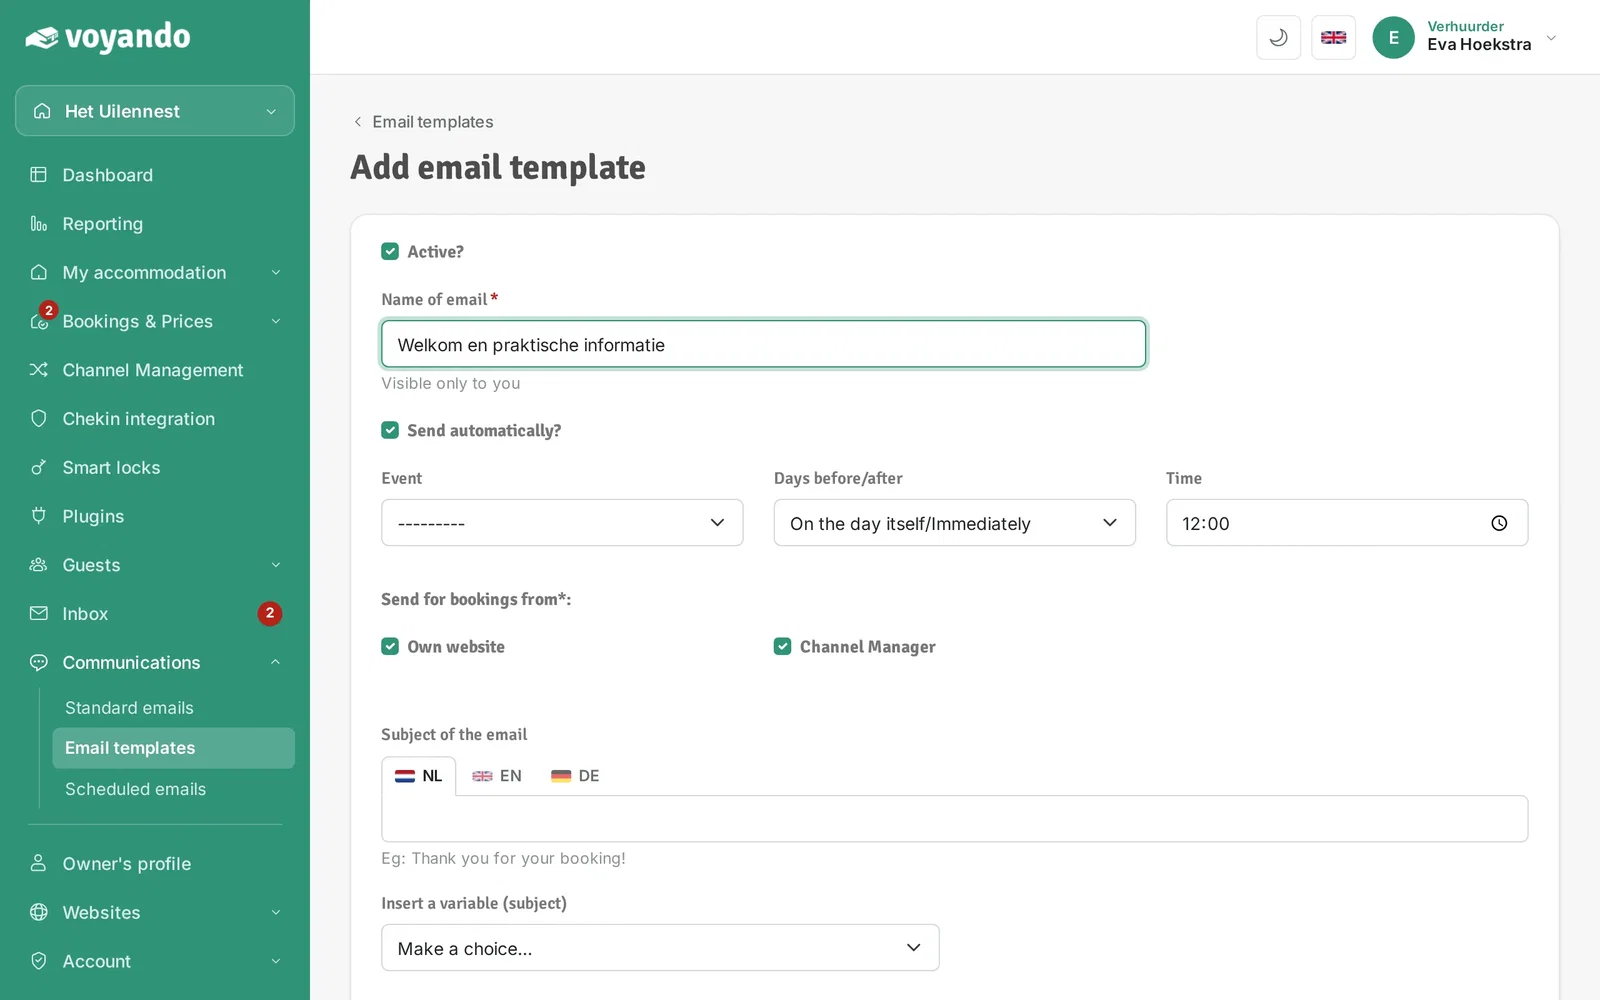
Step 9: Choose the time at which the email is sent.
-
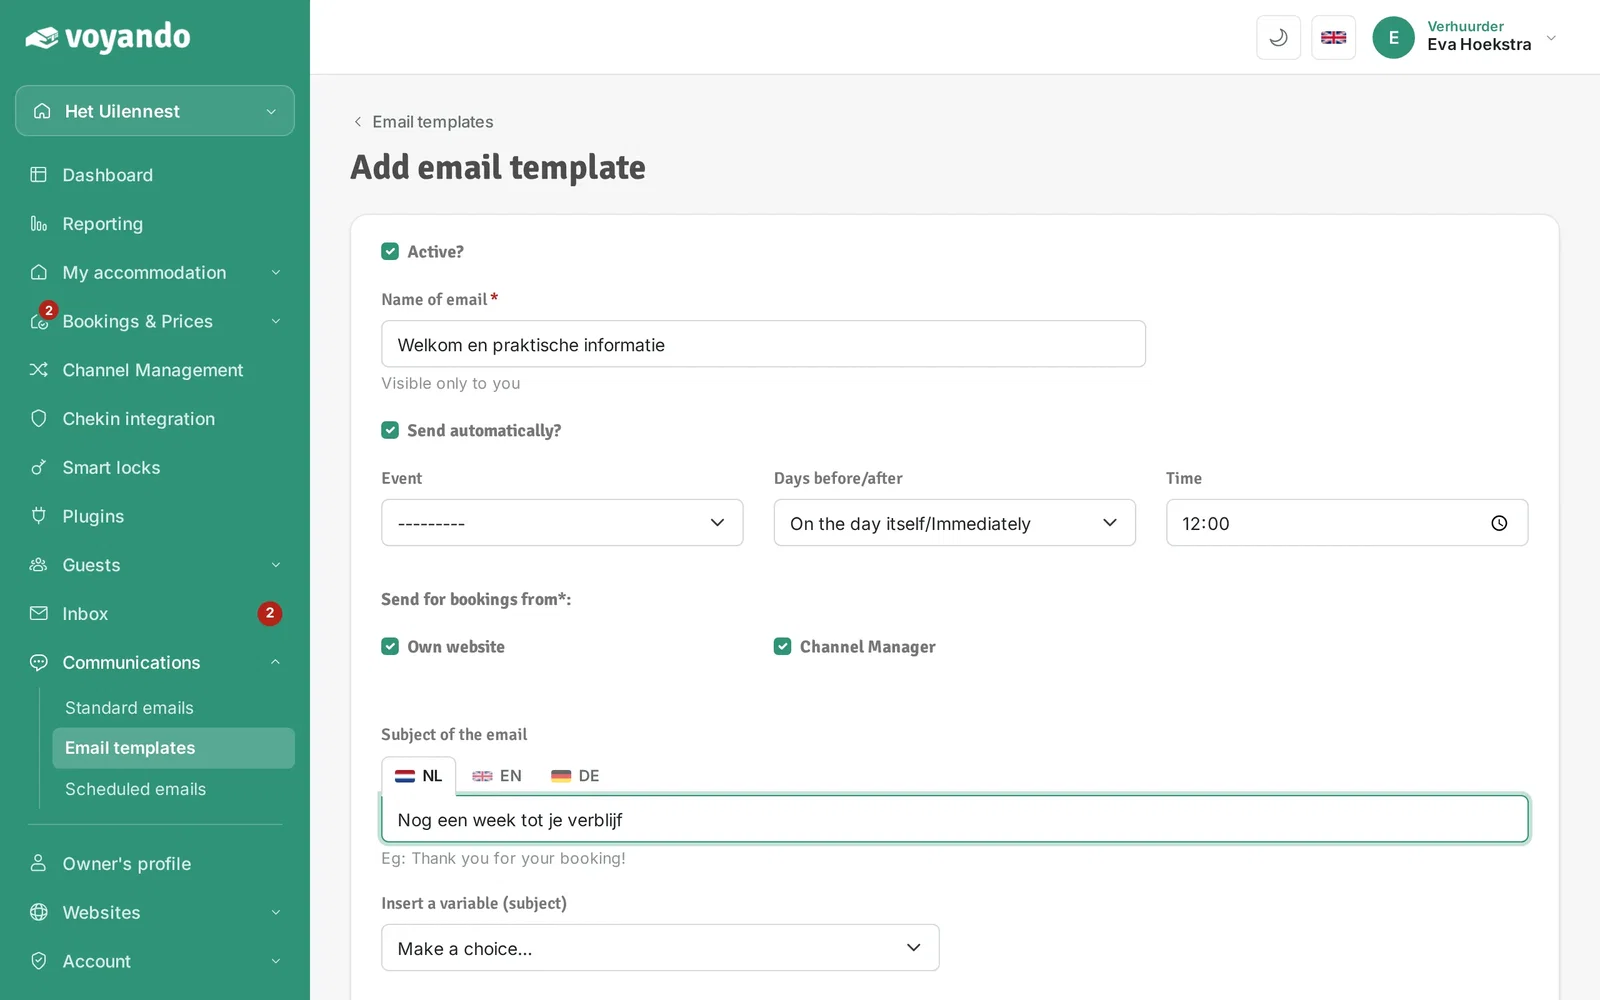
Step 10: Enter the Subject of the email.
-
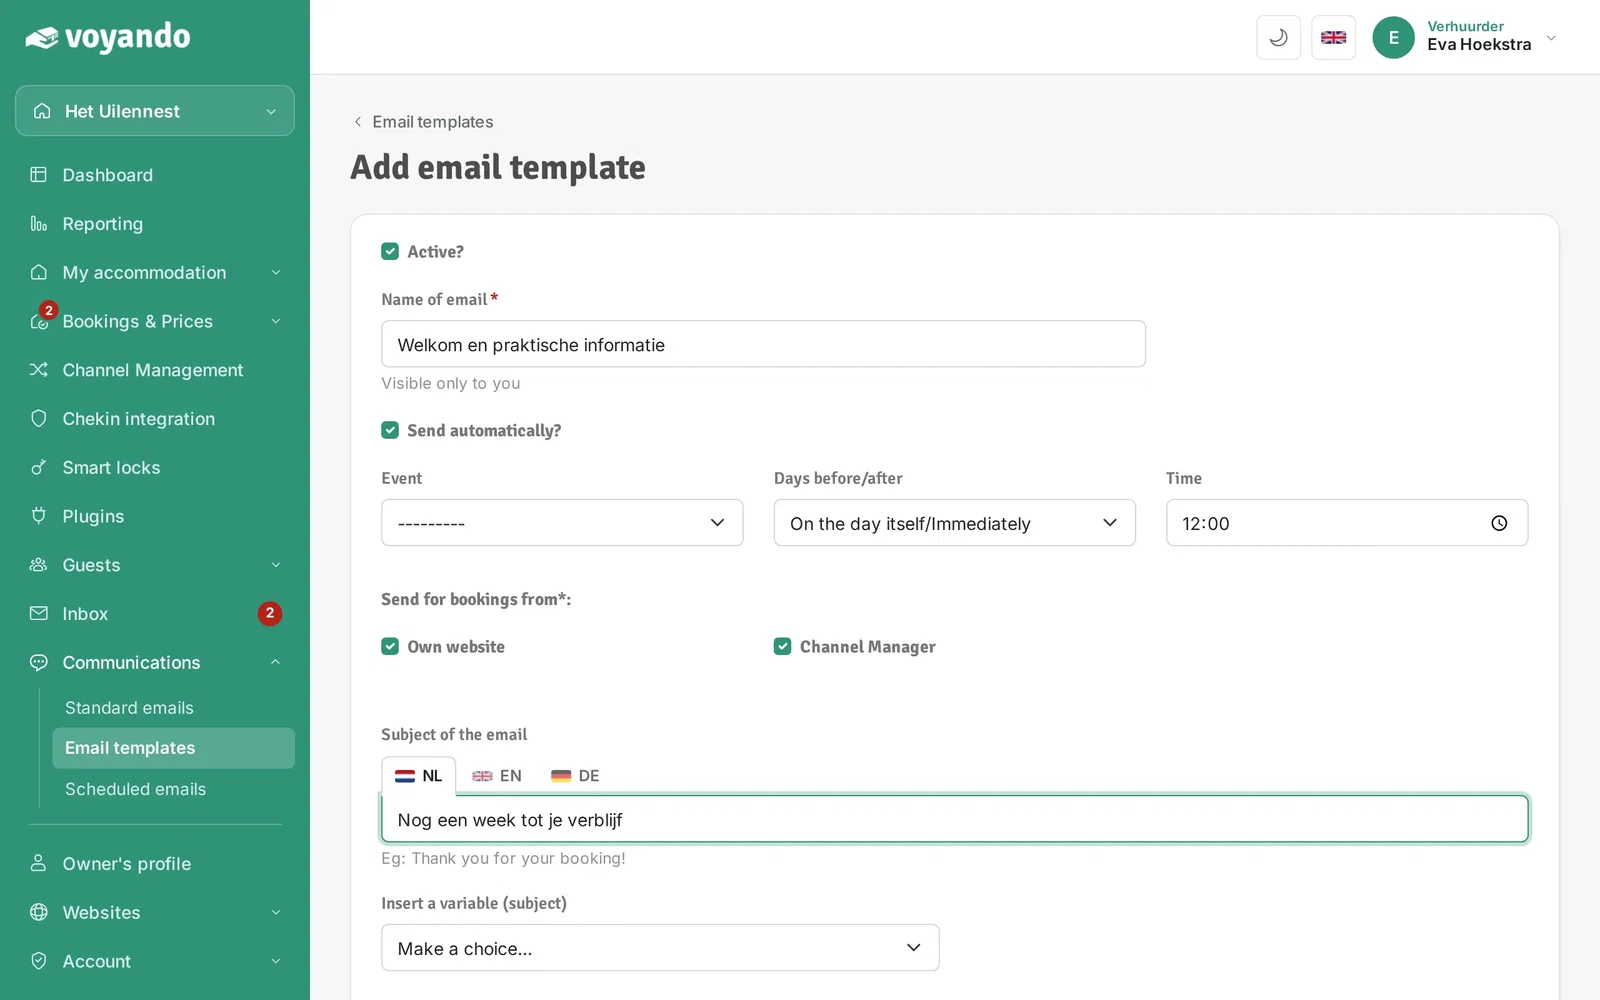
Step 11: Optionally pick a variable under Insert a variable (subject), such as the guest's name. It is filled in automatically for each booking.
-
Step 12: Write the content of the email.
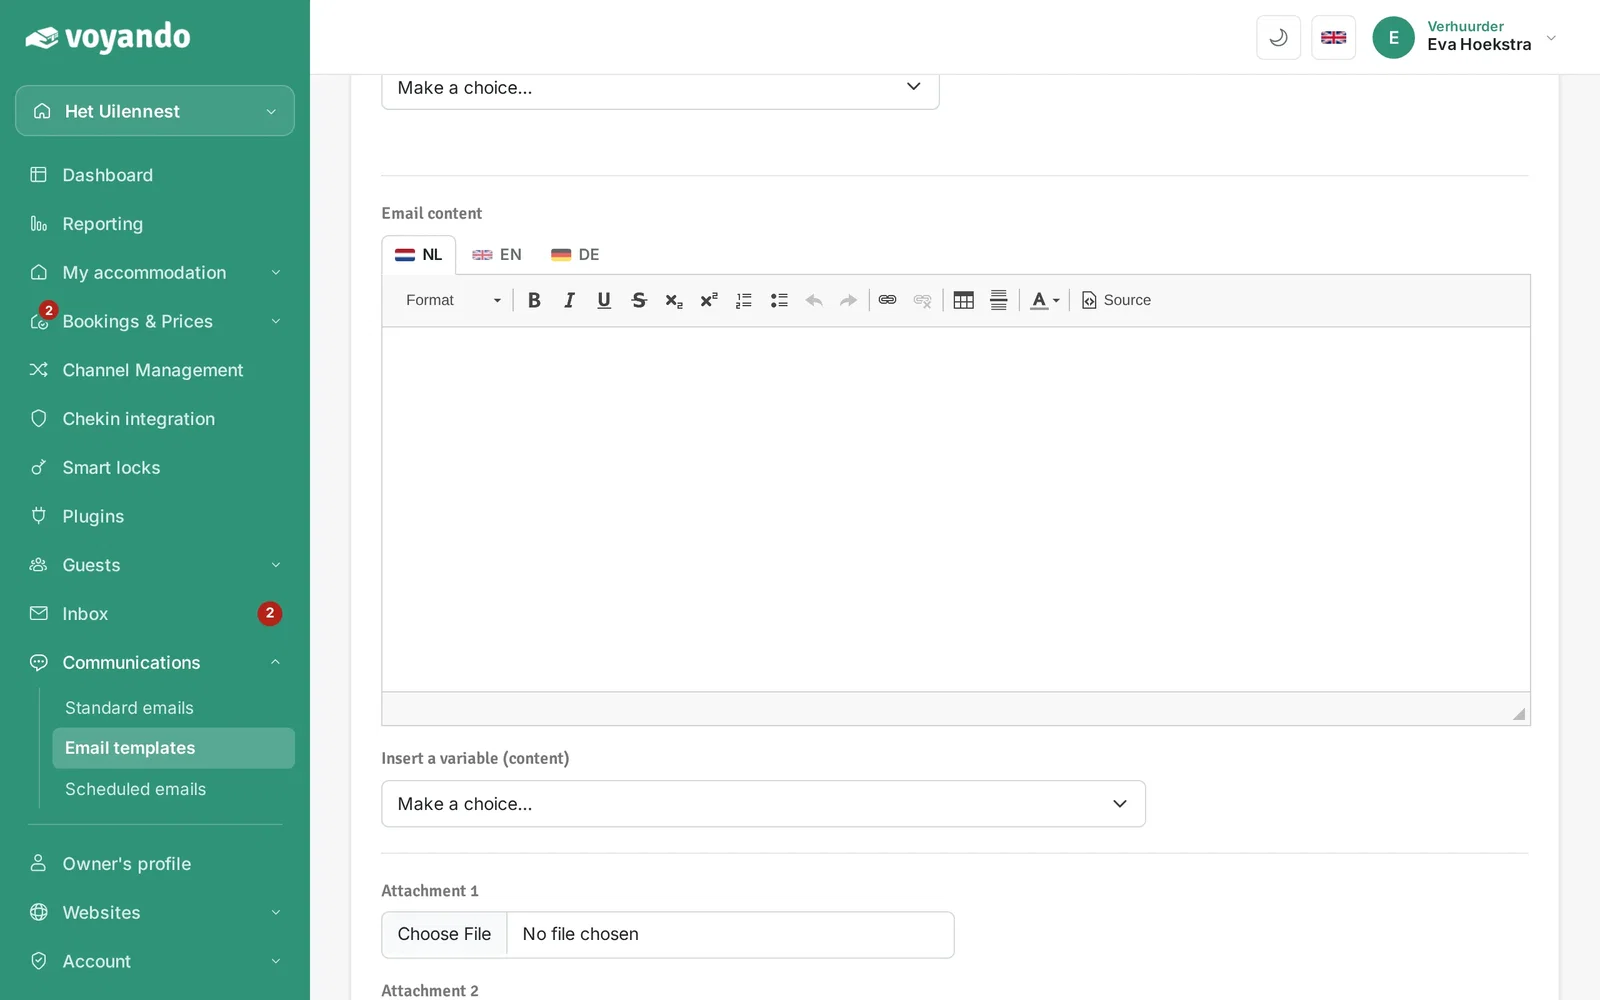
-
Step 13: Put the cursor where you want it and pick a variable under Insert a variable (content). That way you never type details like the guest's name or check-in date yourself.
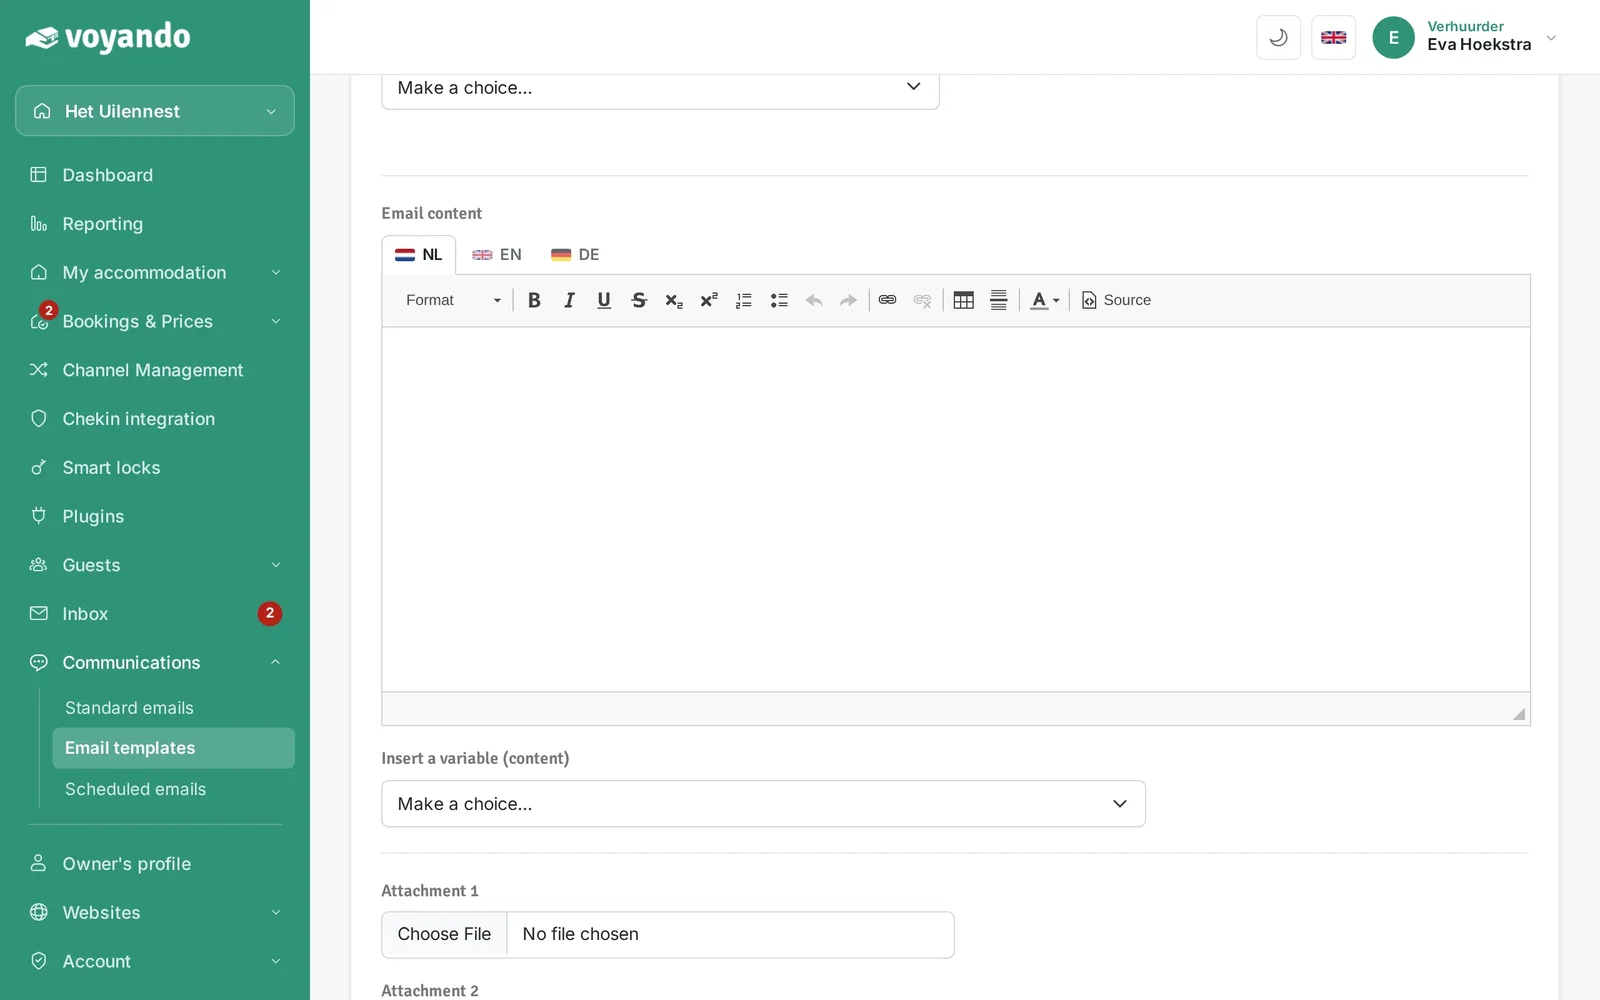
-
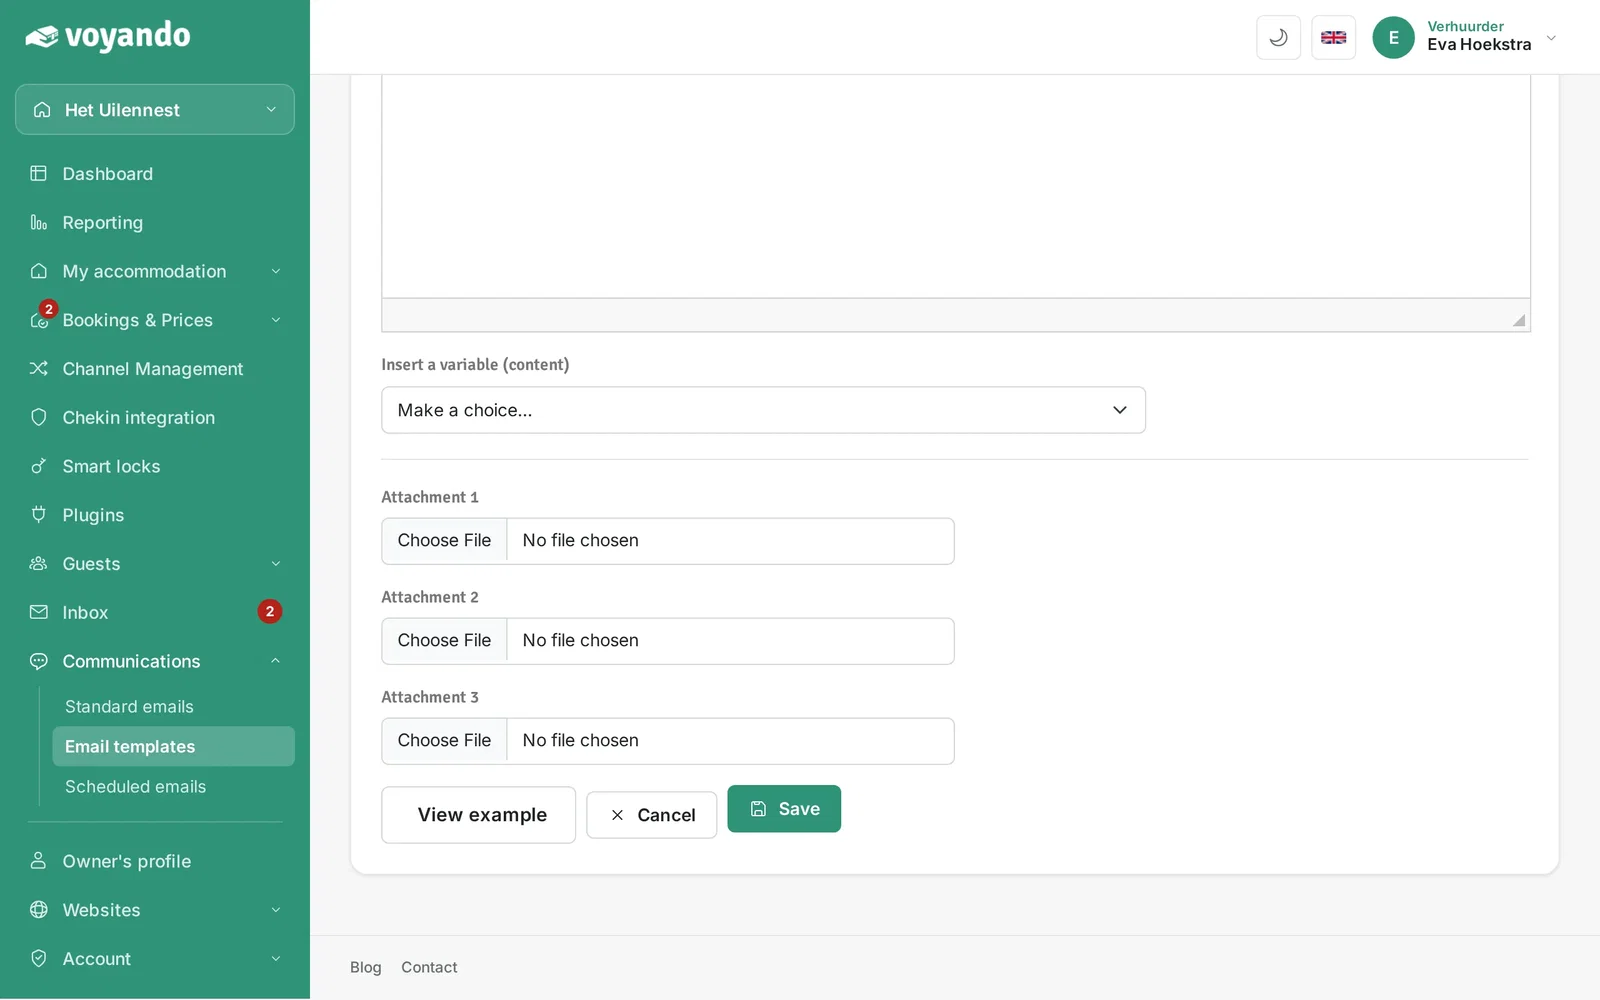
Step 14: Add an attachment if you like. It is sent with every language version.
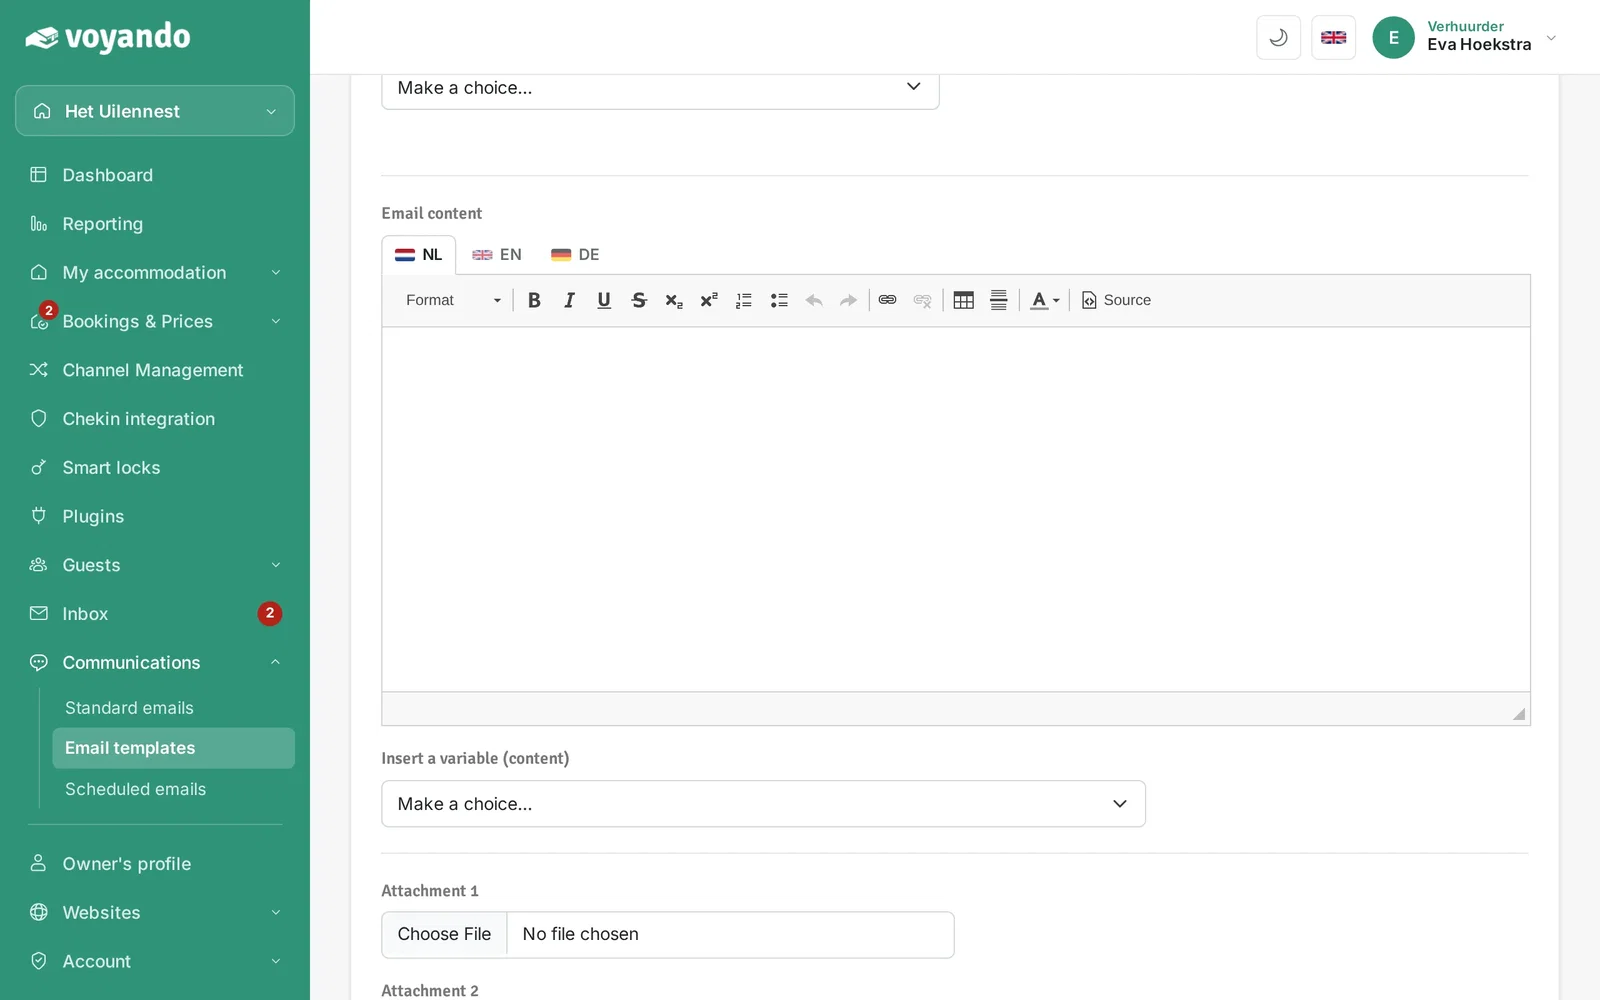
-
Step 15: Click View example to see what the email looks like.
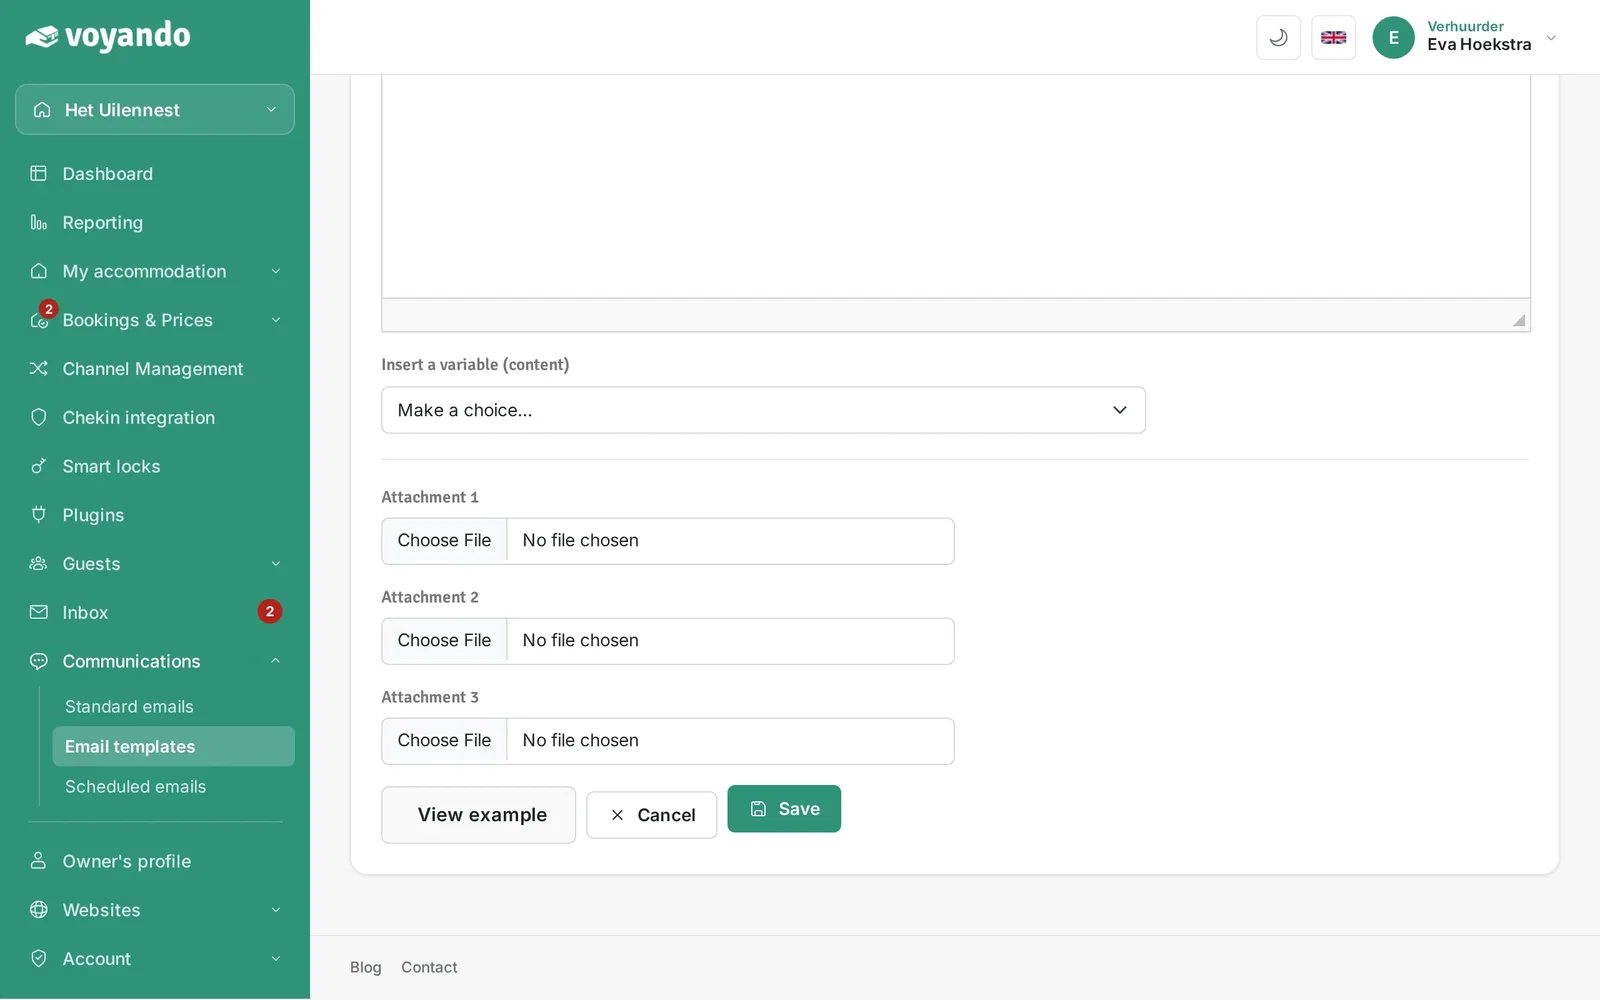
-
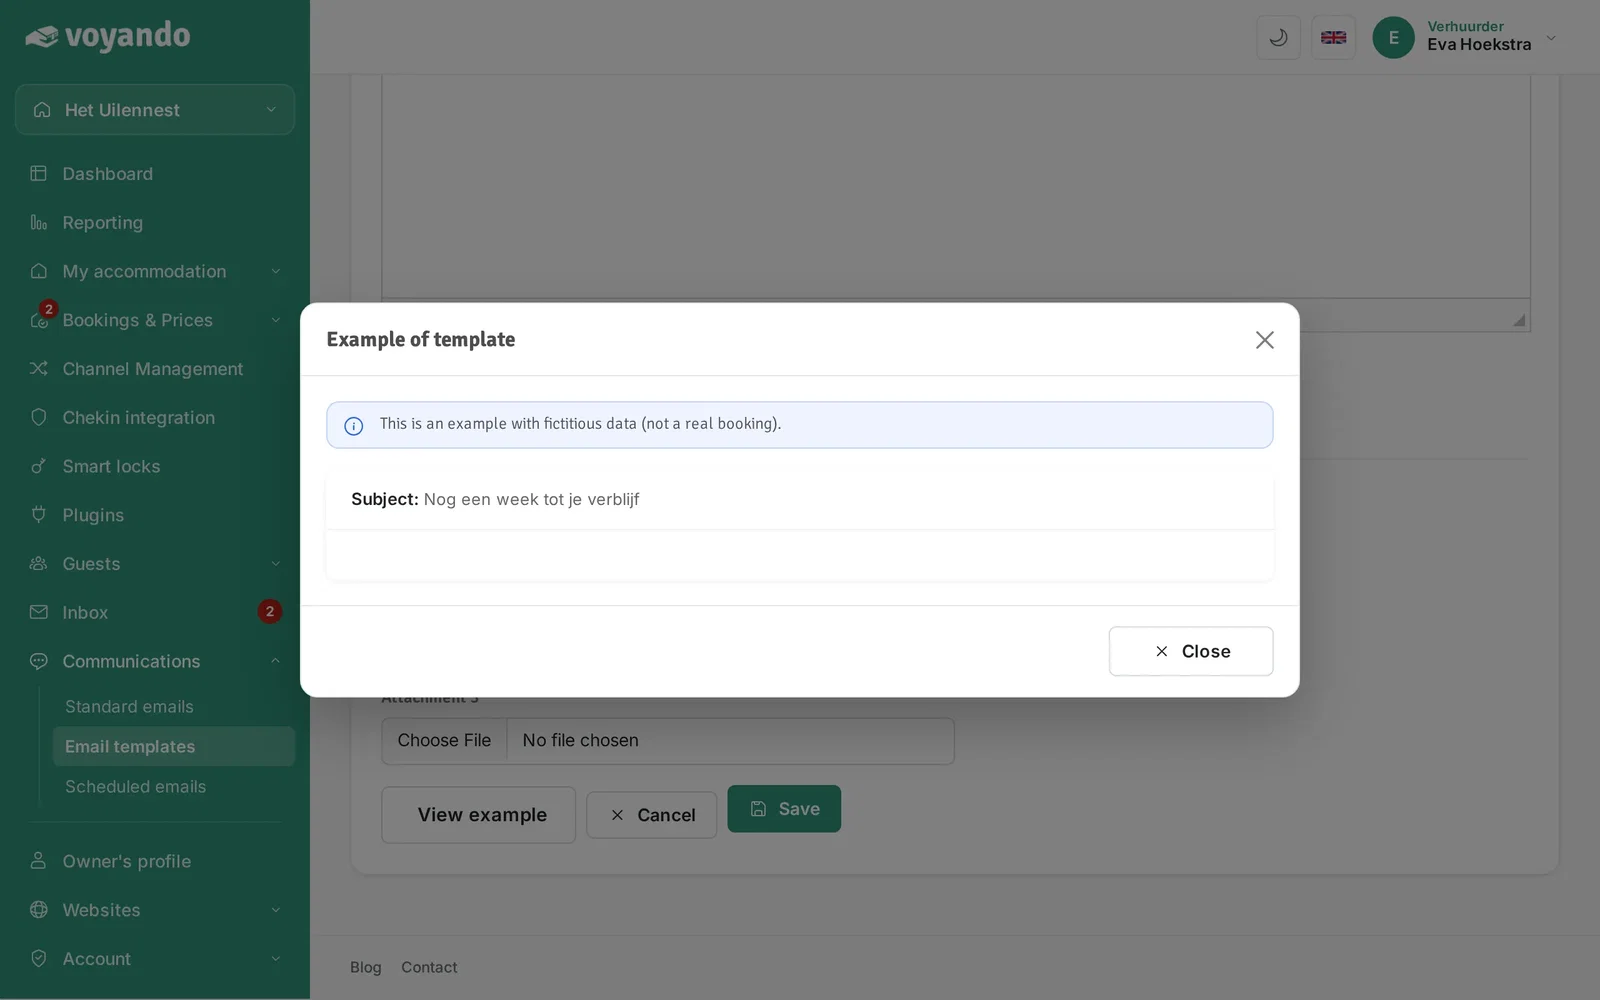
Step 16: You now see an example of your email.
-
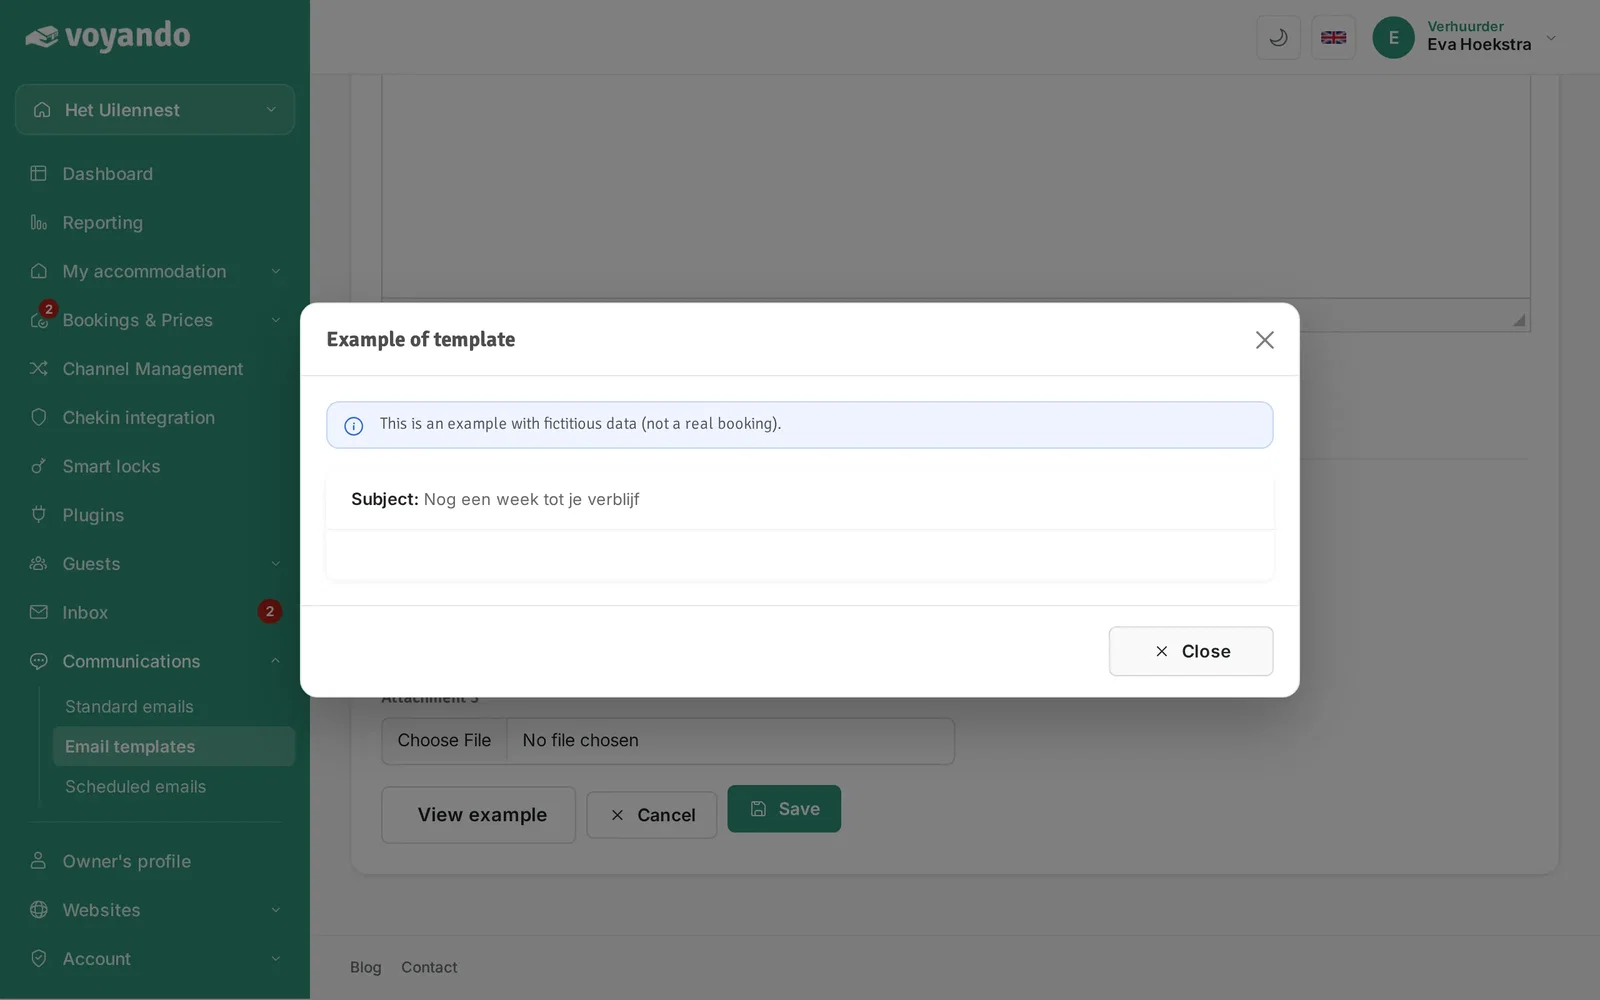
Step 17: Click Close to close the example.
-
Step 18: Click Save. From now on the email is scheduled automatically for new bookings.
-
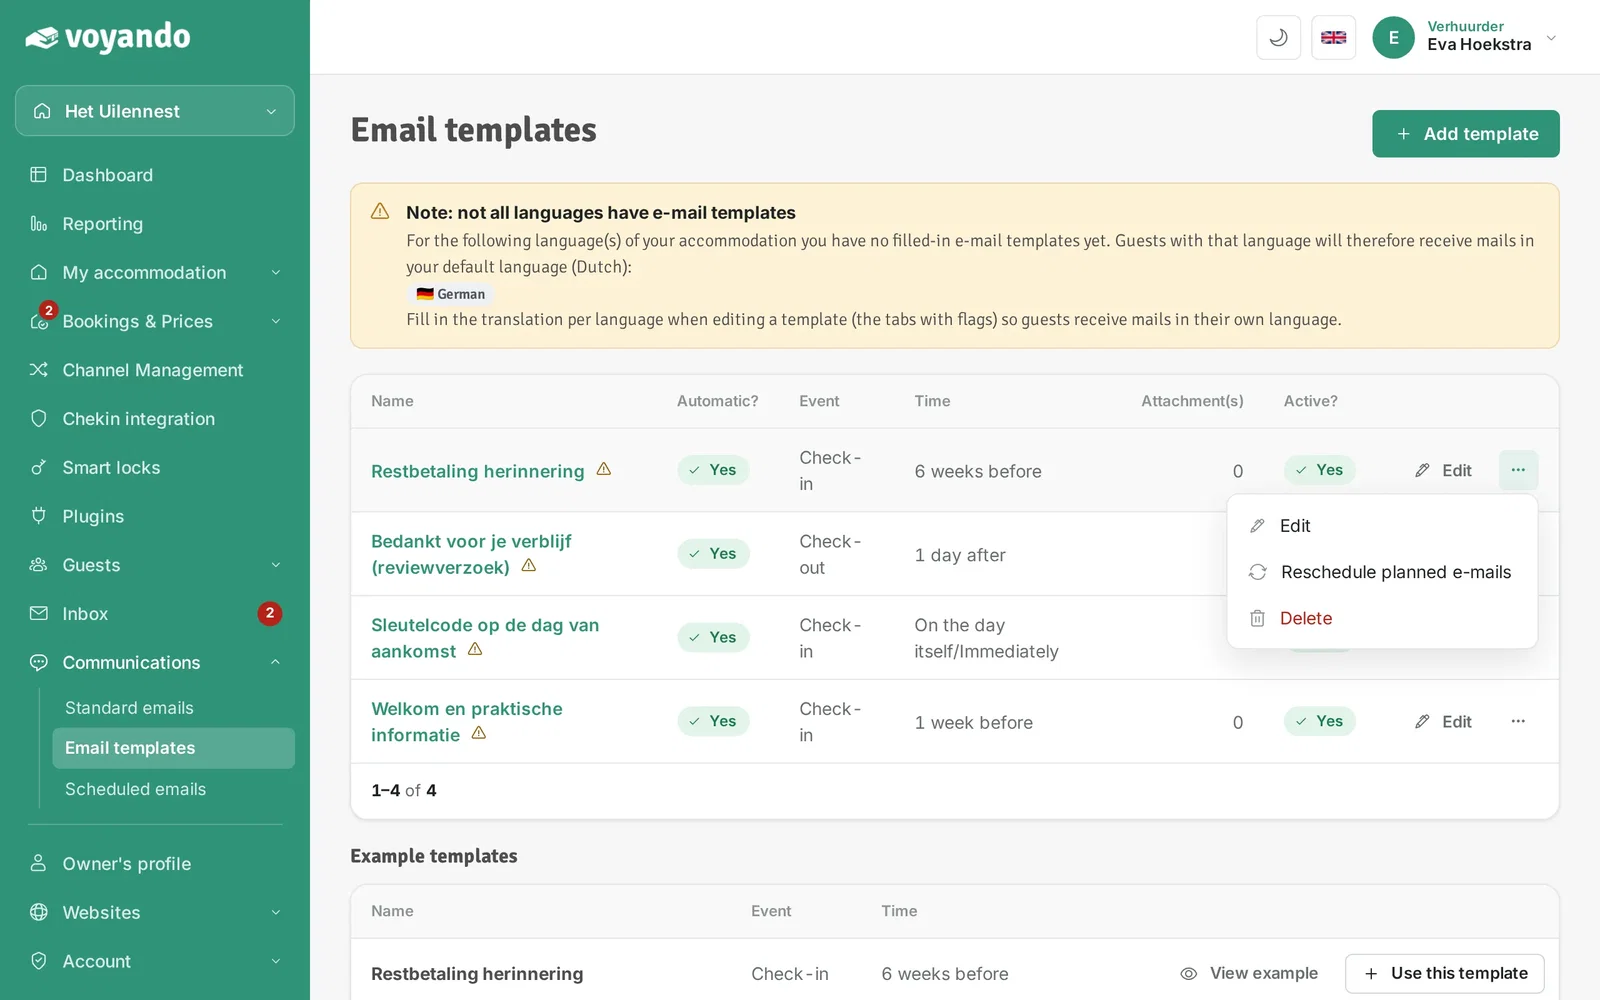
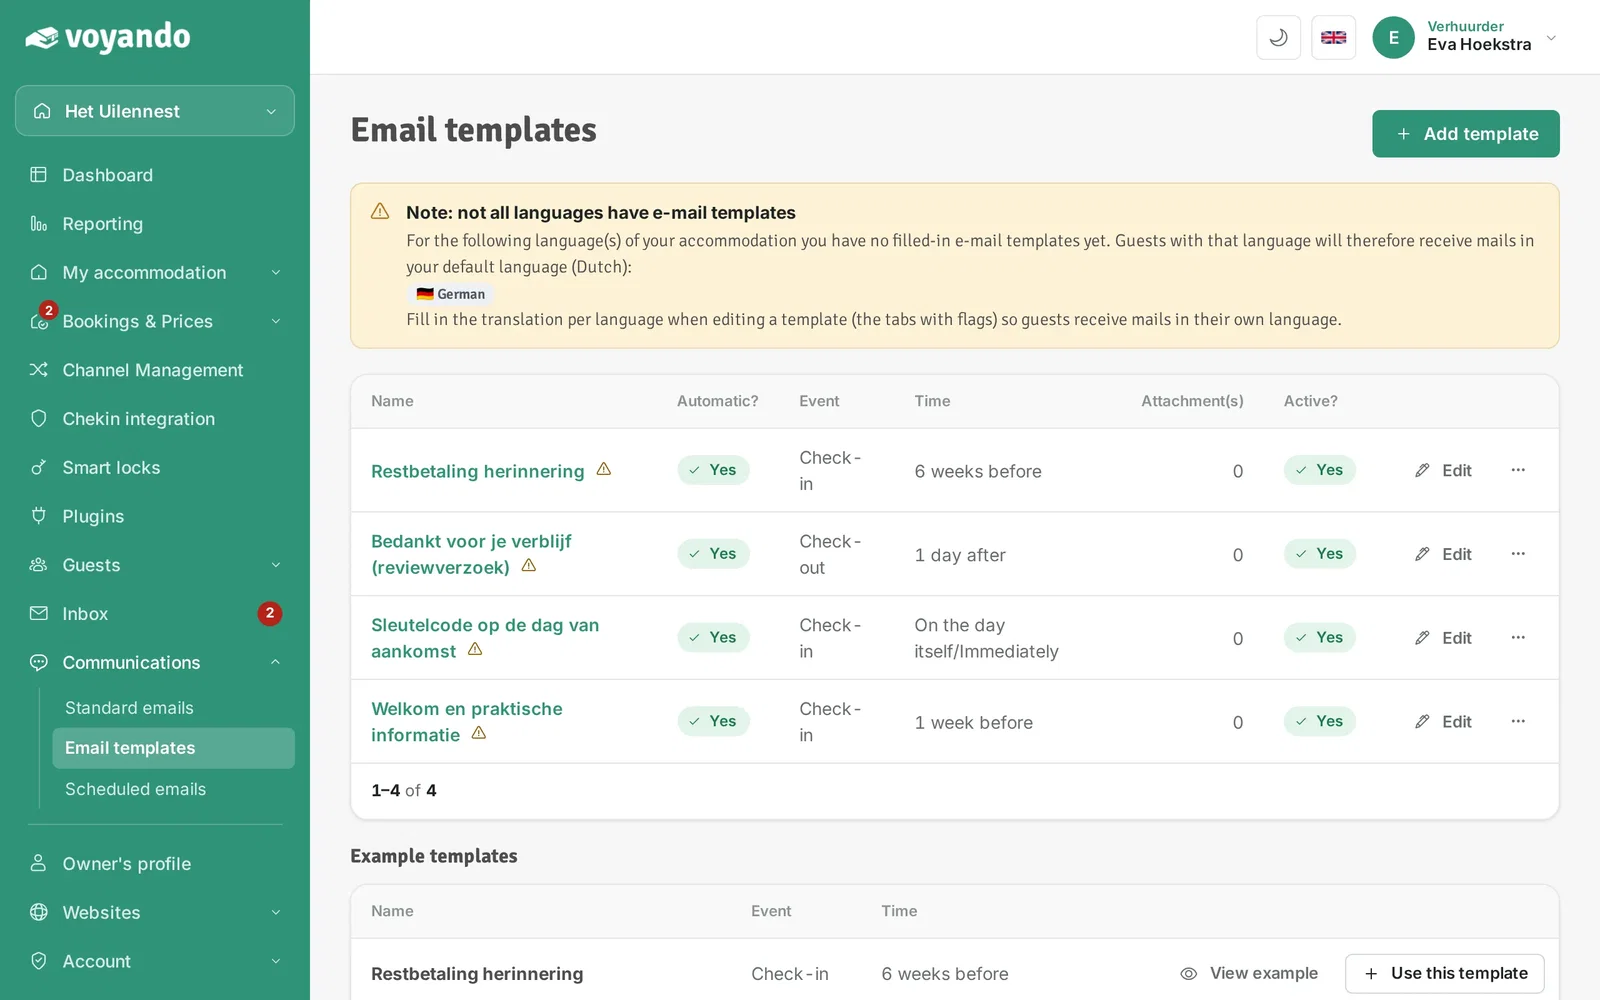
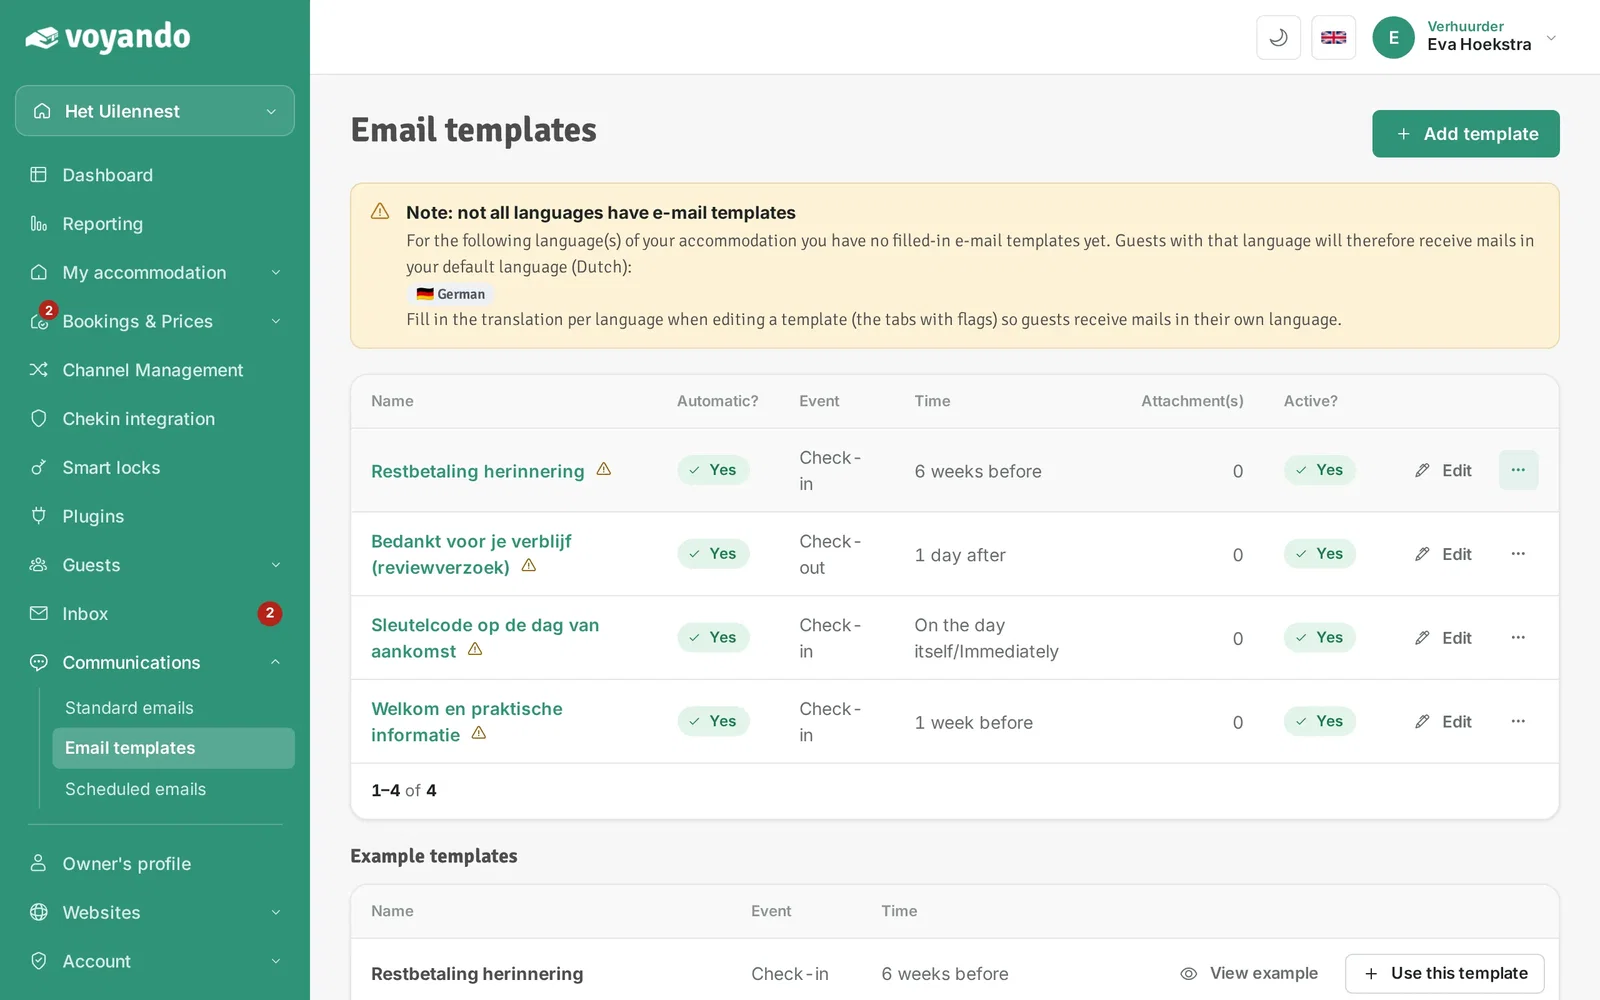
Step 19: Back in the overview of your email templates.
-
Step 20: Do you already have bookings? Click the three dots next to the template.
-
Step 21: Click Reschedule planned e-mails to schedule the email for all existing bookings too.